> ## Documentation Index
> Fetch the complete documentation index at: https://watermelon.ai/docs/llms.txt
> Use this file to discover all available pages before exploring further.
# Zapier
> Zapier can help you automate tasks and build workflows between otherwise incompatible apps through automated connections called Zaps — set up in minutes with no coding.
The Zapier integration is available for **advanced and business users.**
## **How it works**
Zapier integrates with 6000+ apps including Google Sheets, Airtable, Mailchimp, Notion, Salesforce, Teamleader, and many more. This makes Zapier a popular tool for automating workflows between otherwise incompatible apps.
Users can set up multi-step Zaps that automatically trigger a sequence of actions after one initial trigger event, such as a new Watermelon conversation.
### **1. Connect to Zapier**
Here's how to get started with syncing your Watermelon conversations to other apps using Zapier.
First, create a Zapier account (for free) if you don't already have one. Then, go to the `Integrations` tab.
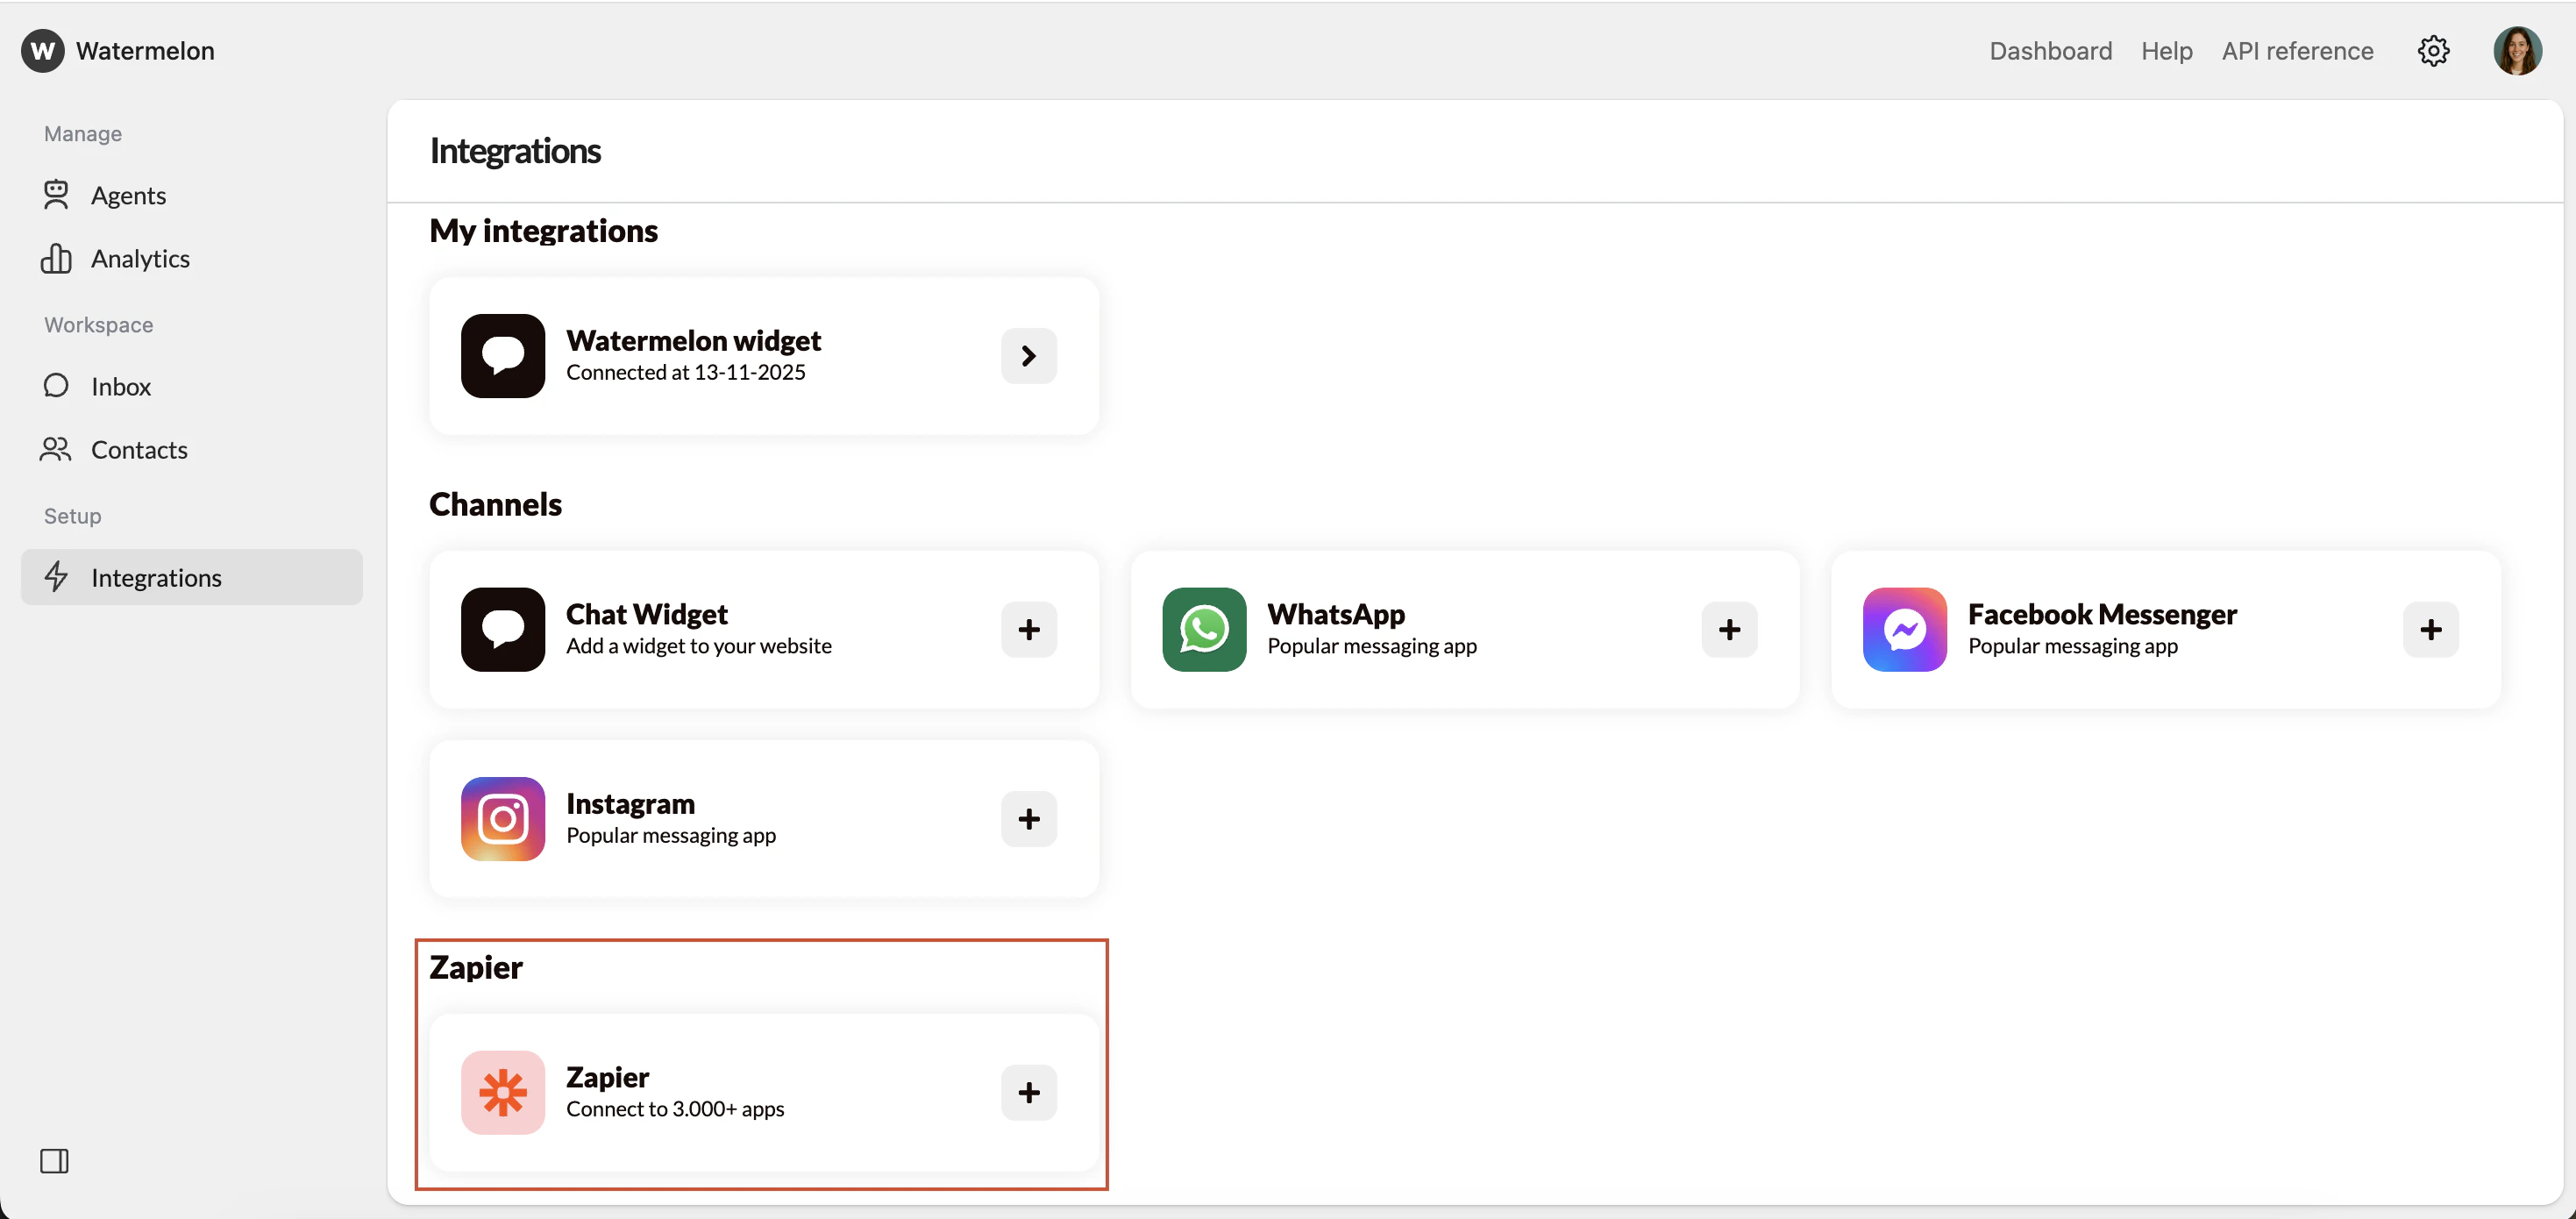 You’ll be prompted to log into your Zapier account.
### **2. Build your own Zap or use a template**
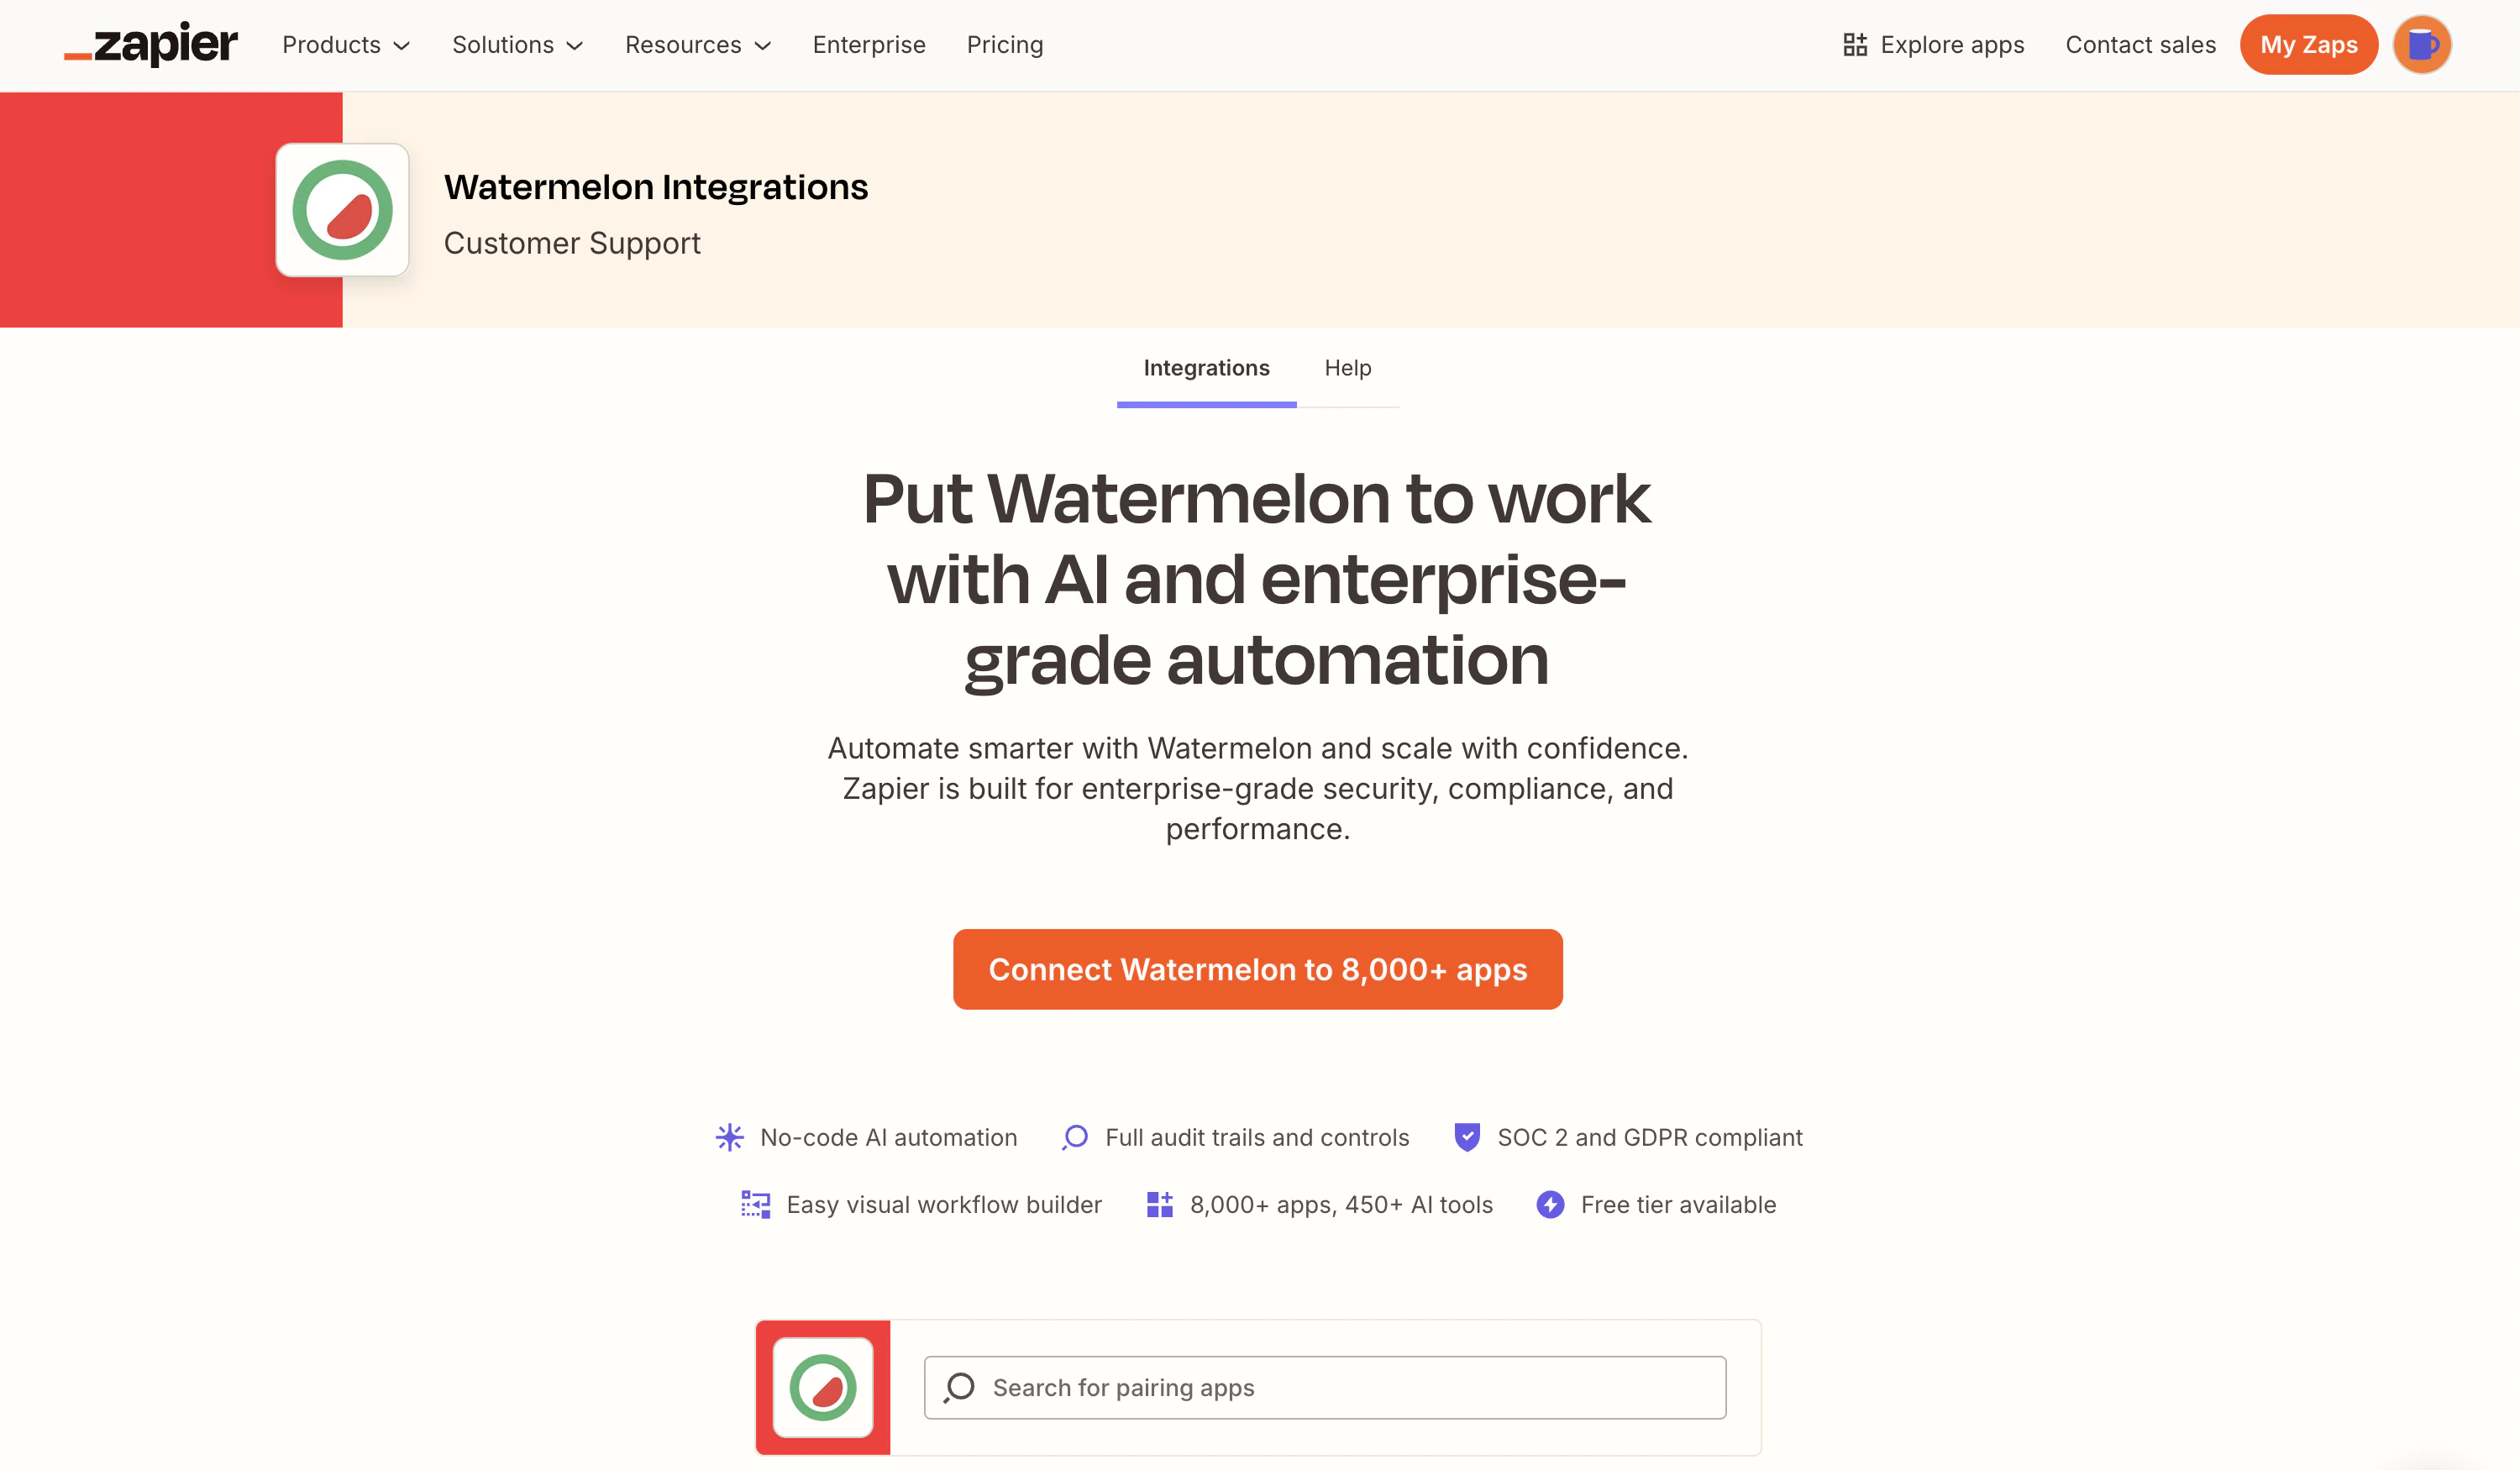
You can either create your automation from scratch or head to the [**Watermelon integration page**](https://zapier.com/apps/watermelon/integrations) on Zapier to explore ready-made templates and different integrations you can set up.
You’ll be prompted to log into your Zapier account.
### **2. Build your own Zap or use a template**
You can either create your automation from scratch or head to the [**Watermelon integration page**](https://zapier.com/apps/watermelon/integrations) on Zapier to explore ready-made templates and different integrations you can set up.
 ### **3. Create a trigger**
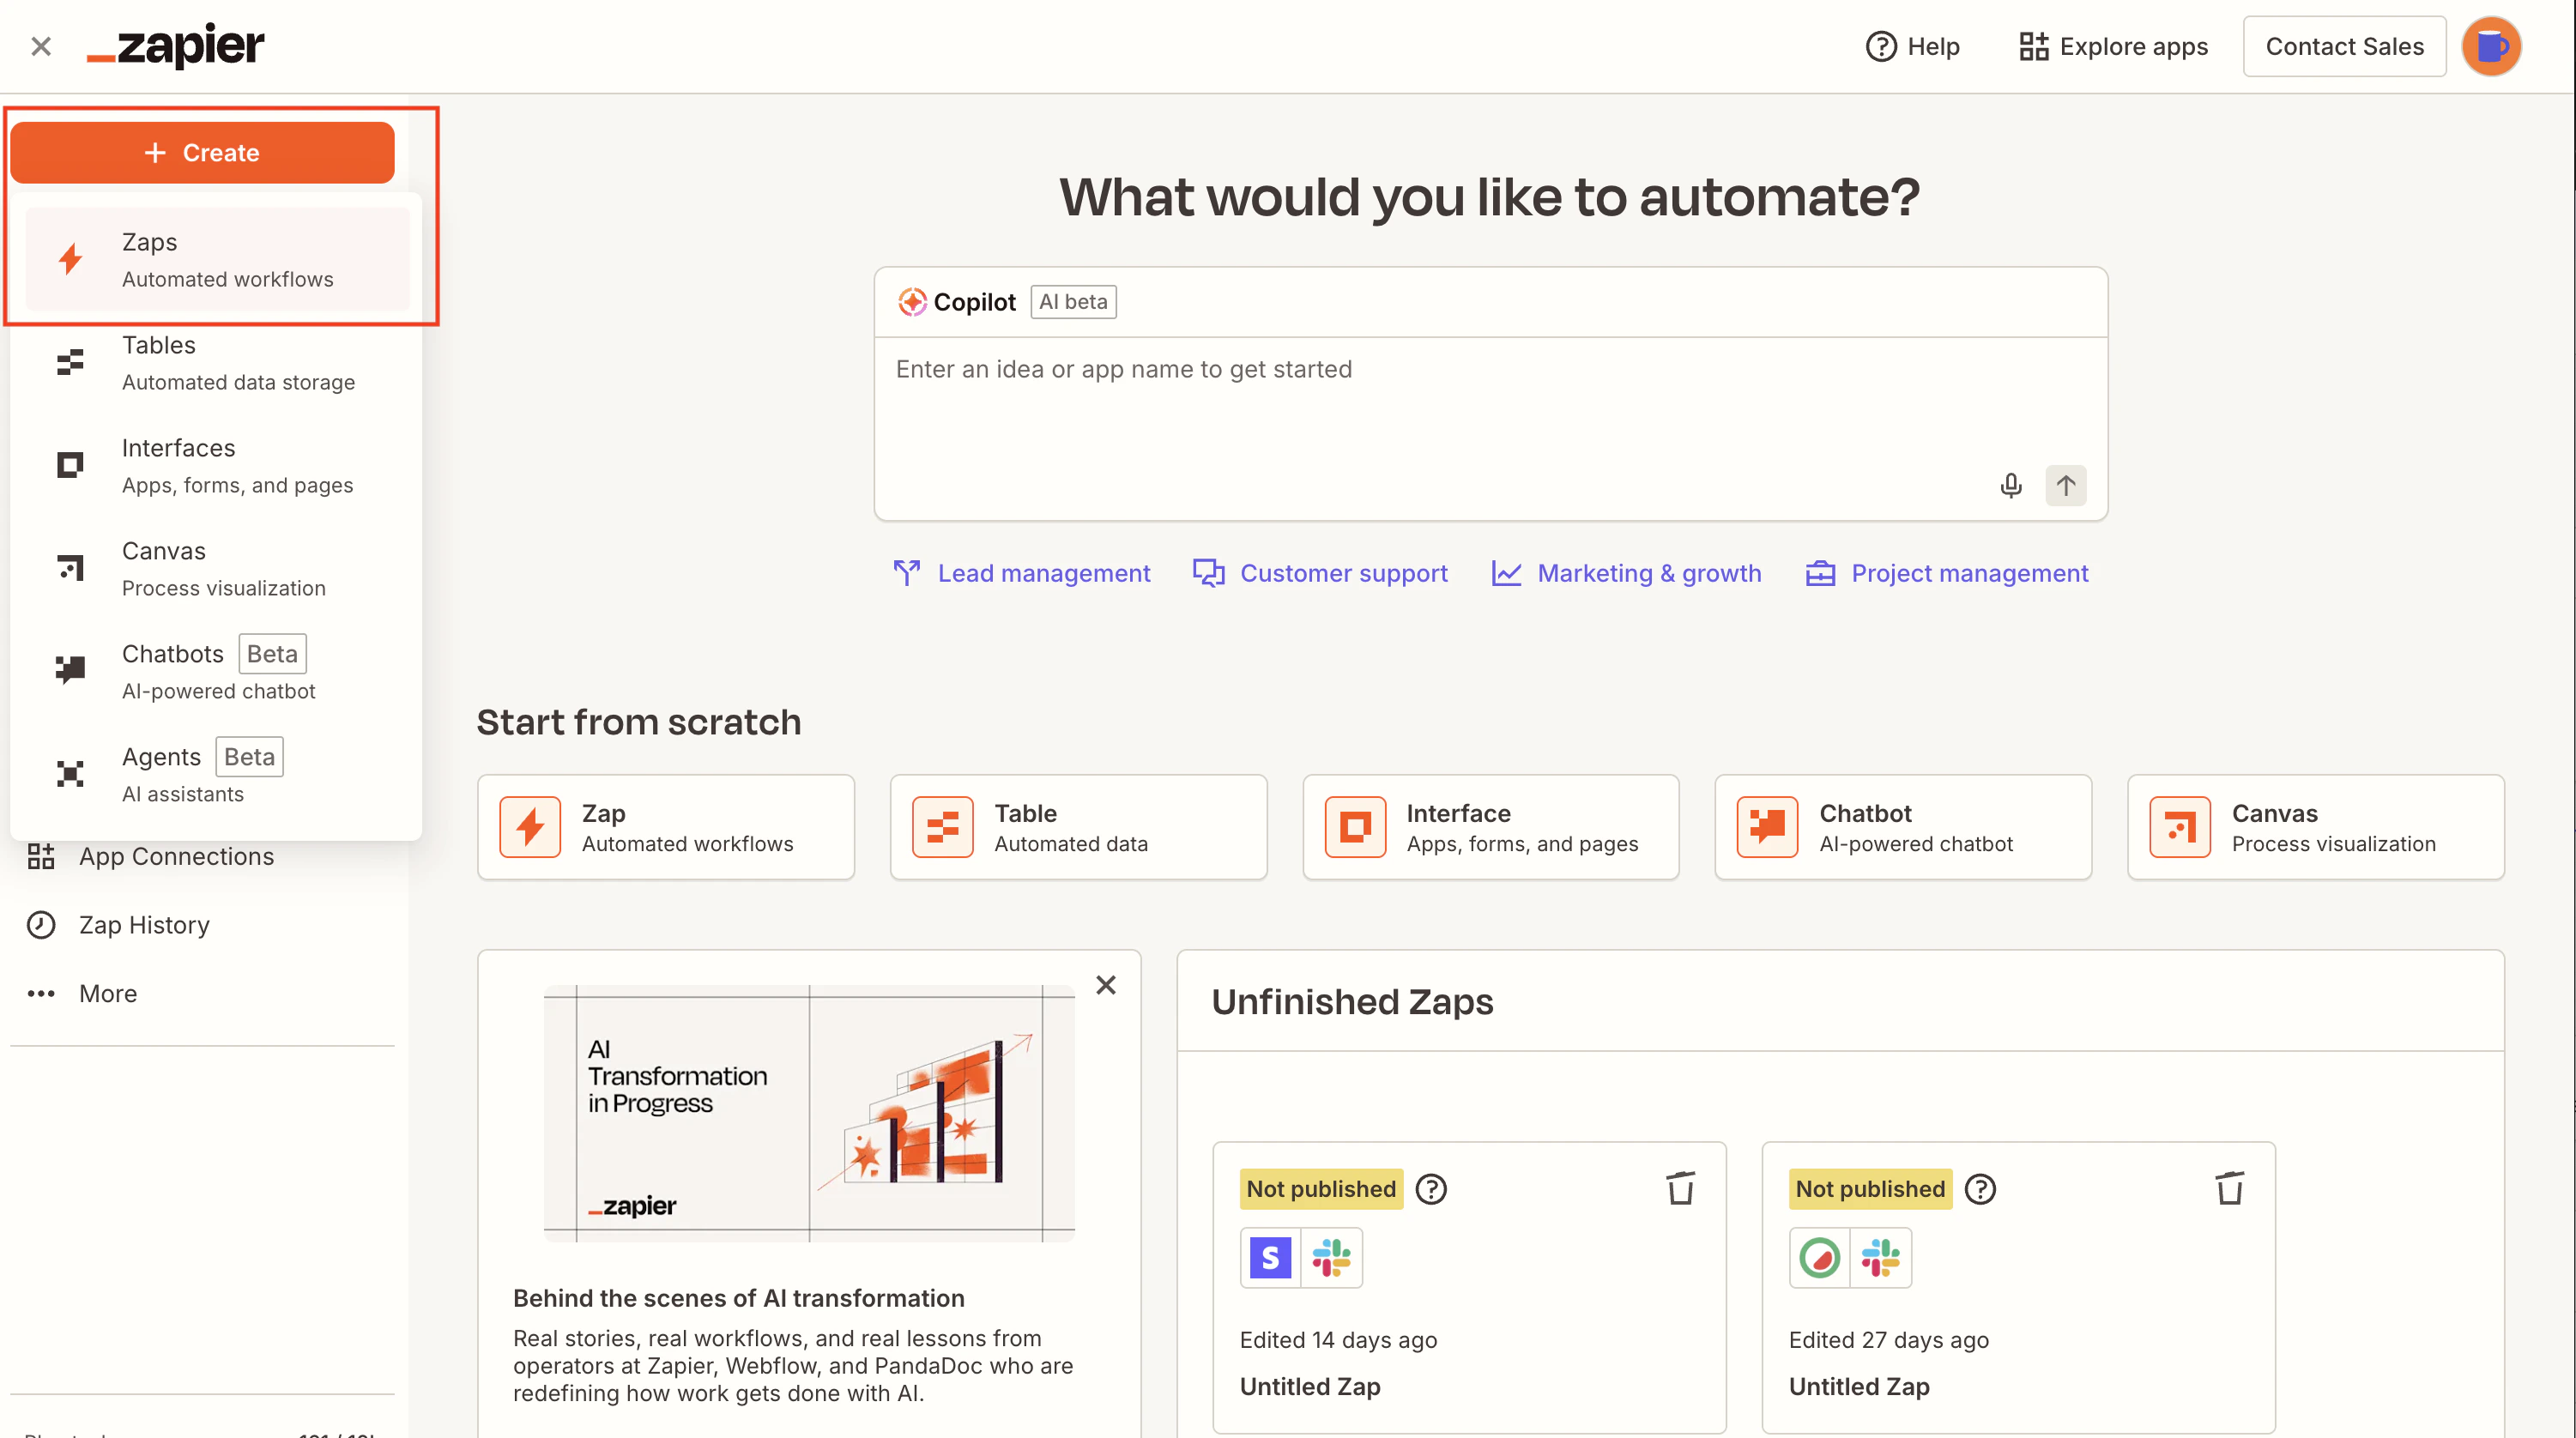
If you’re building your own Zap from scratch, click the `+ Create` button in your sidebar, then select `Zaps`.
### **3. Create a trigger**
If you’re building your own Zap from scratch, click the `+ Create` button in your sidebar, then select `Zaps`.
 A Zap is made up of a trigger and an action. A trigger is an event that starts a Zap; for Watermelon, the trigger events are:
| Trigger event | Triggers when |
| ------------------------------ | ------------------------------------------------------------ |
| Handover conversation to agent | A conversation is handed over from AI agent to a human agent |
| Handover conversation to team | A conversation is handed over from AI agent to a team |
| New contact | A contact has been created |
| New conversation | A conversation has been created |
| Updated contact | A contact has been updated |
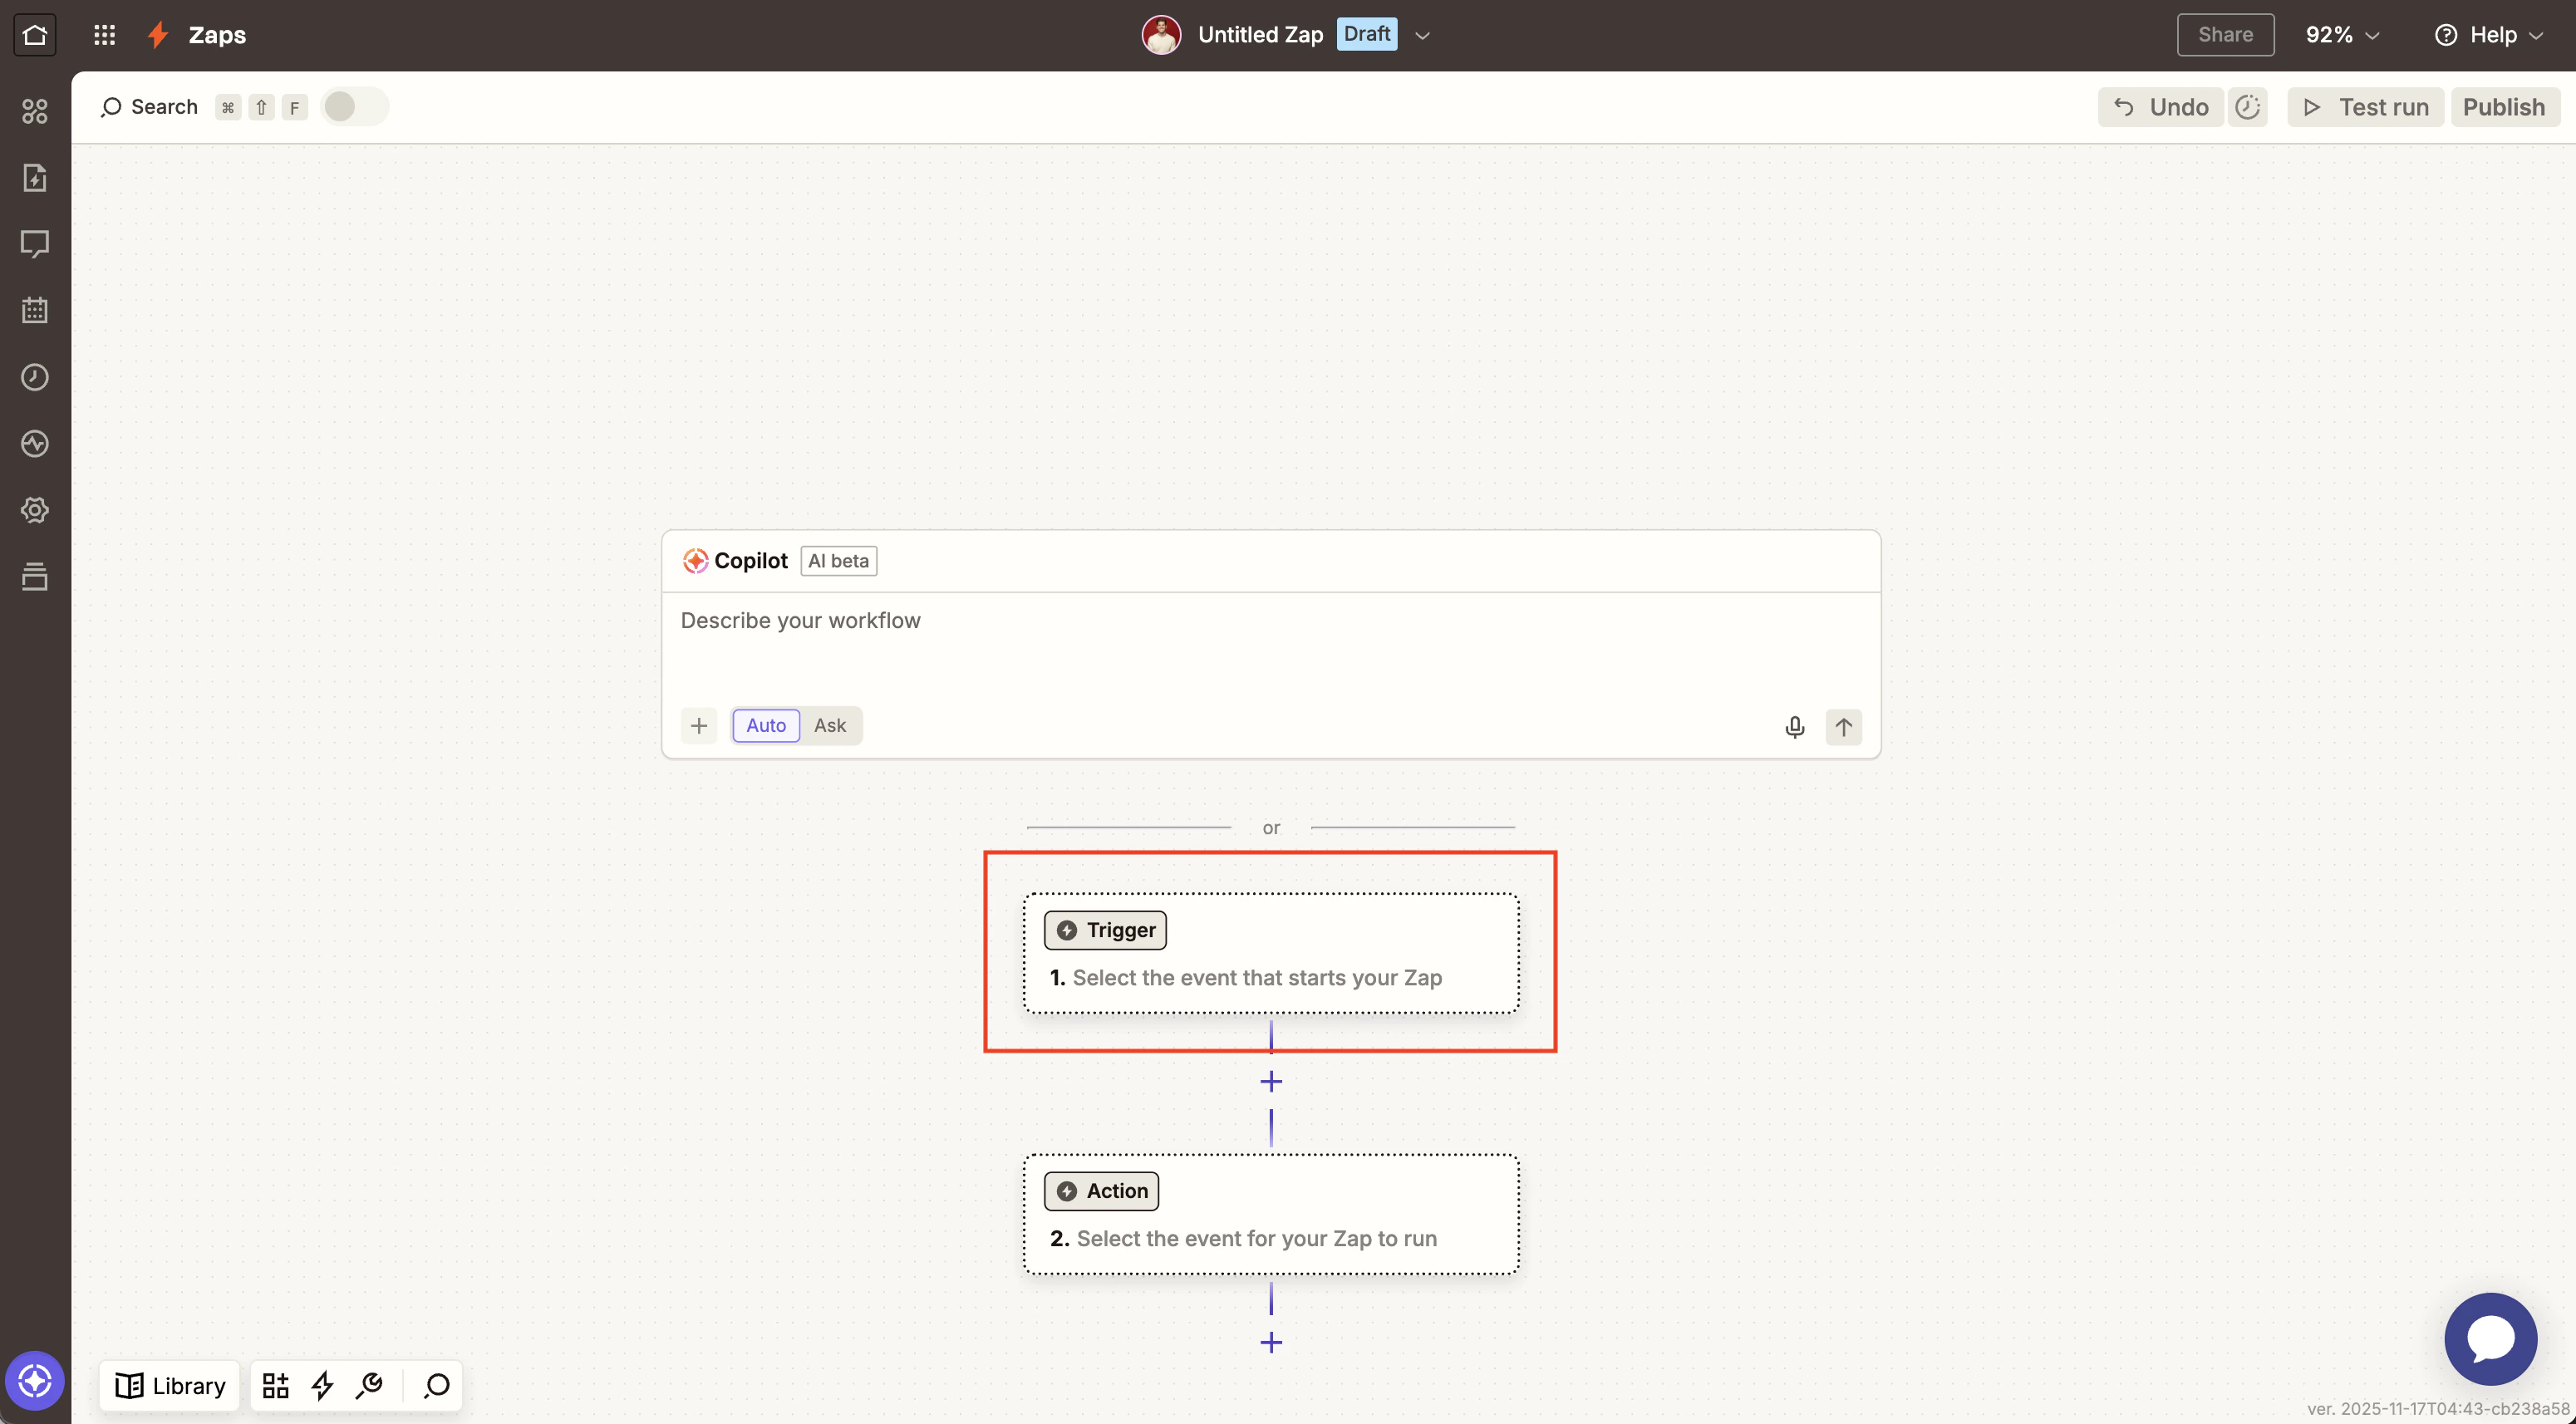
Click on `1. Trigger` to start creating your automation trigger.
A Zap is made up of a trigger and an action. A trigger is an event that starts a Zap; for Watermelon, the trigger events are:
| Trigger event | Triggers when |
| ------------------------------ | ------------------------------------------------------------ |
| Handover conversation to agent | A conversation is handed over from AI agent to a human agent |
| Handover conversation to team | A conversation is handed over from AI agent to a team |
| New contact | A contact has been created |
| New conversation | A conversation has been created |
| Updated contact | A contact has been updated |
Click on `1. Trigger` to start creating your automation trigger.
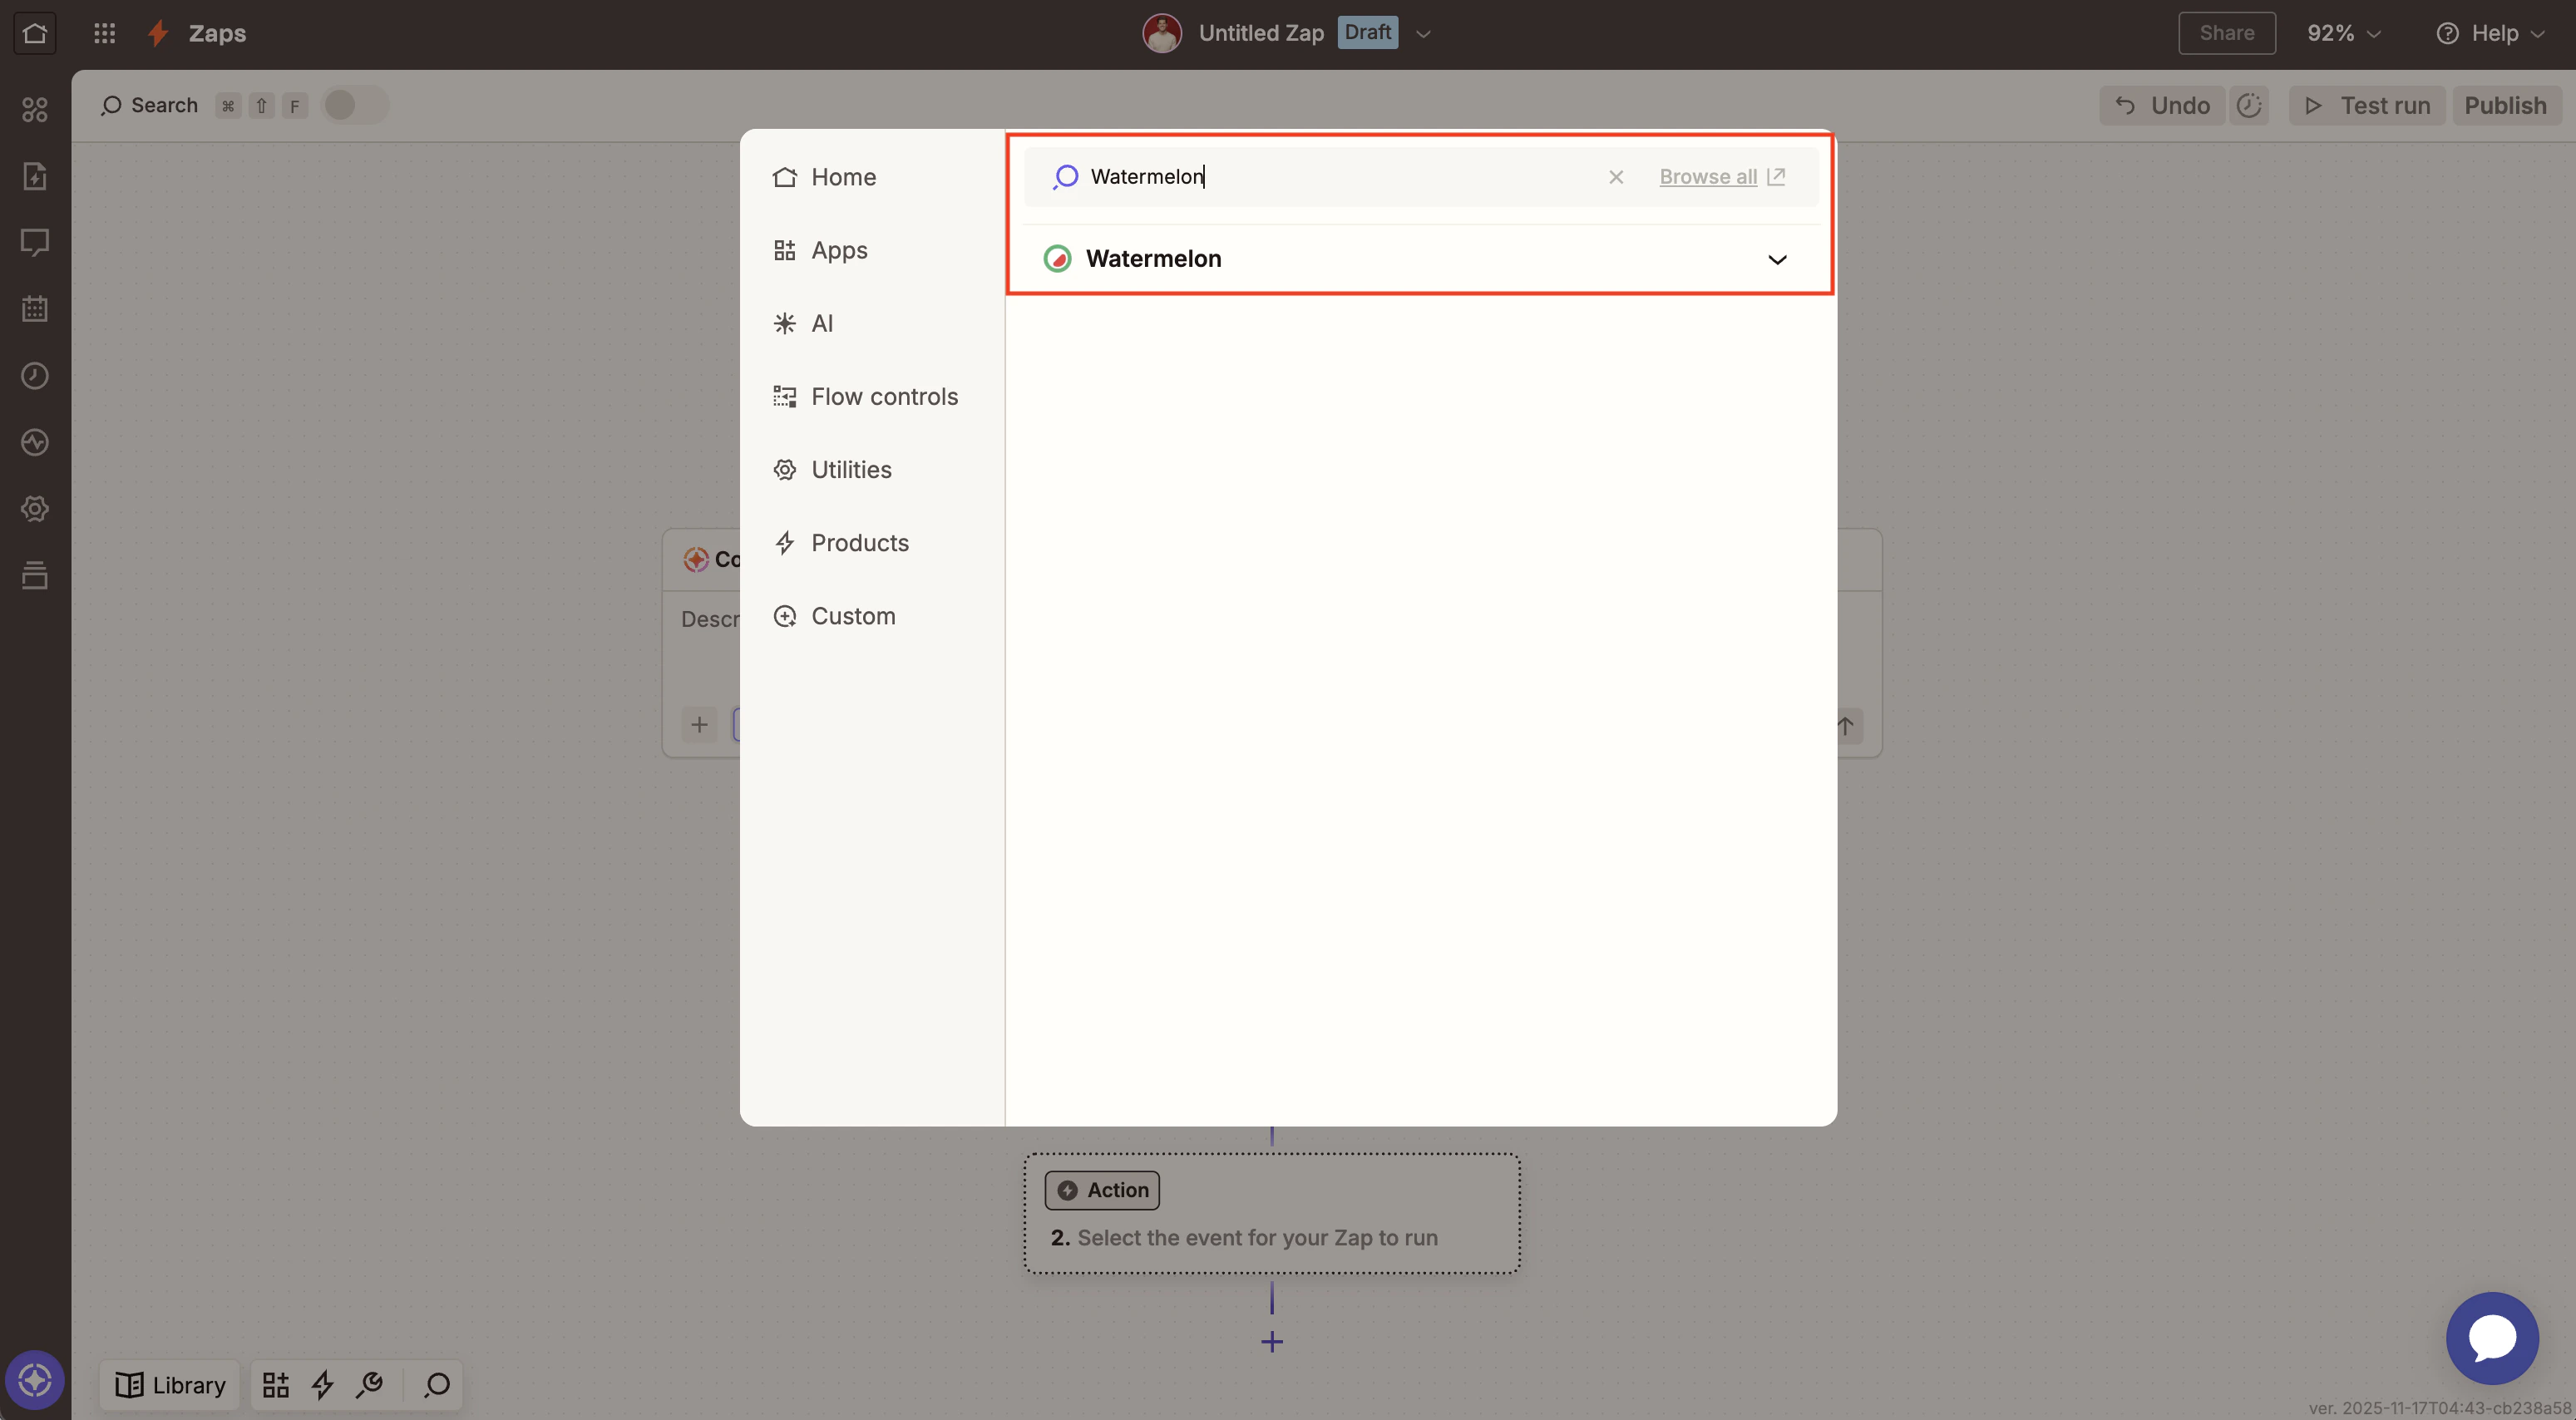
 Then, search for ‘Watermelon’ and click on it.
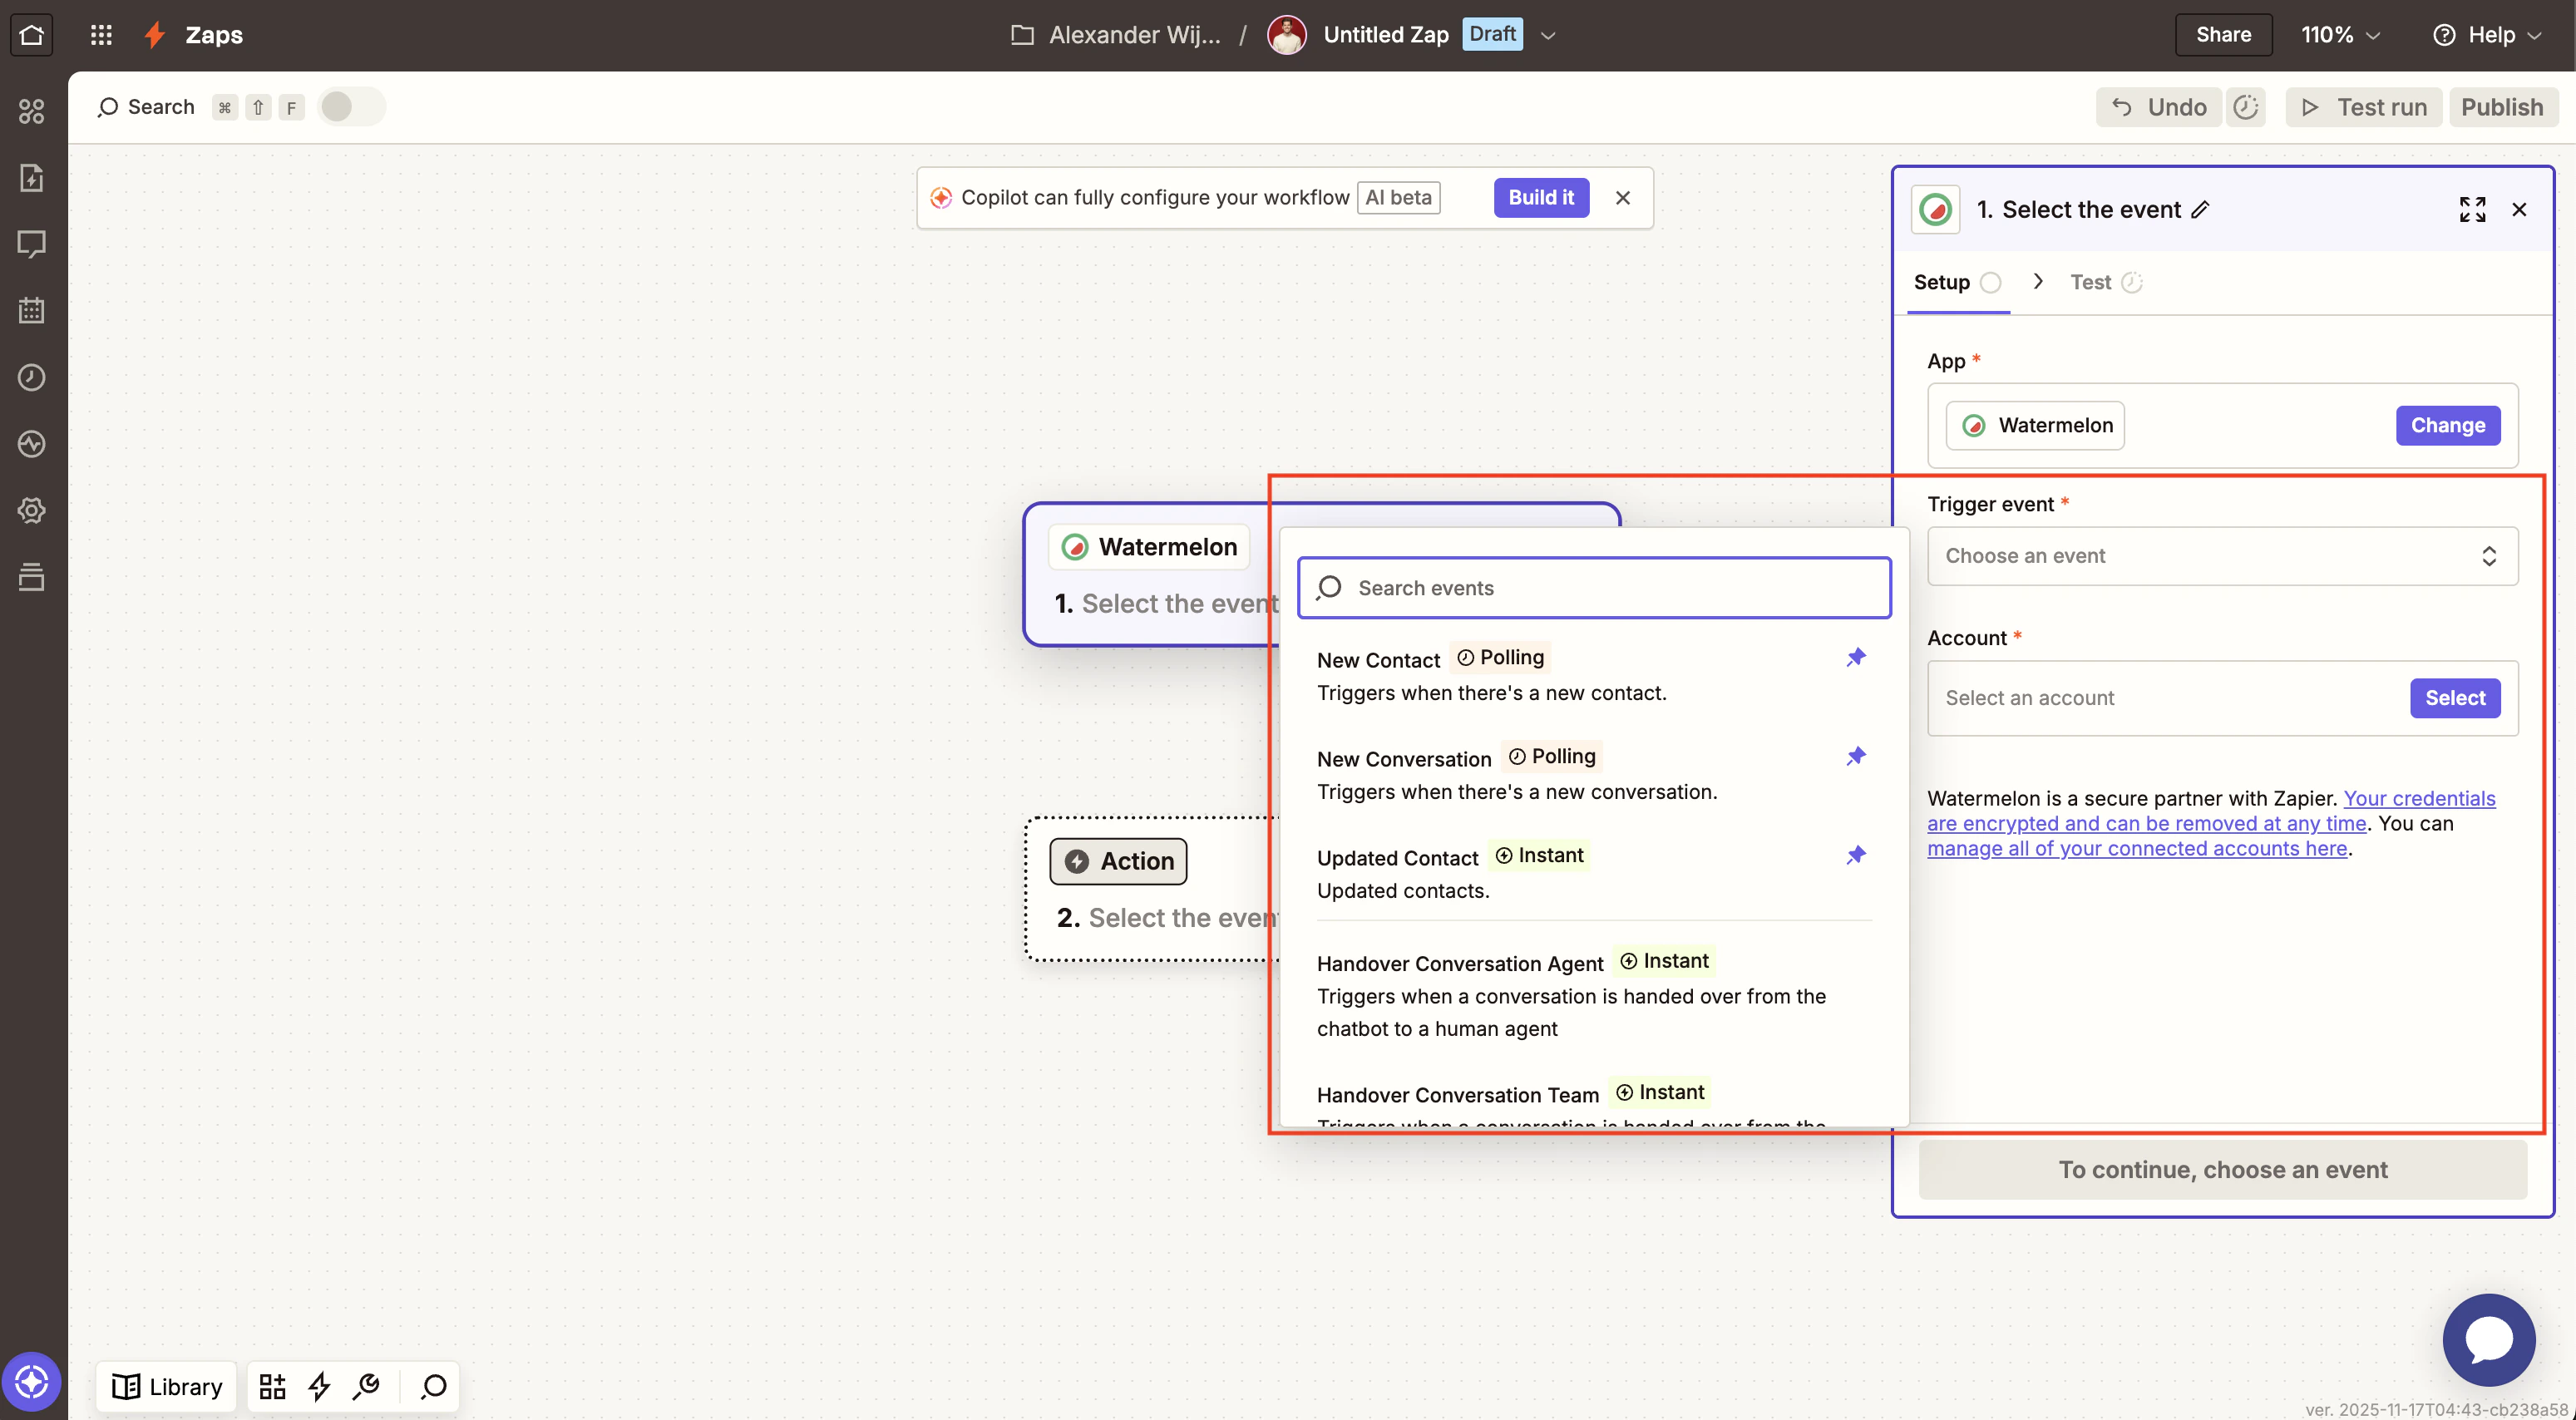
 In the `Event` dropdown, select your desired trigger.
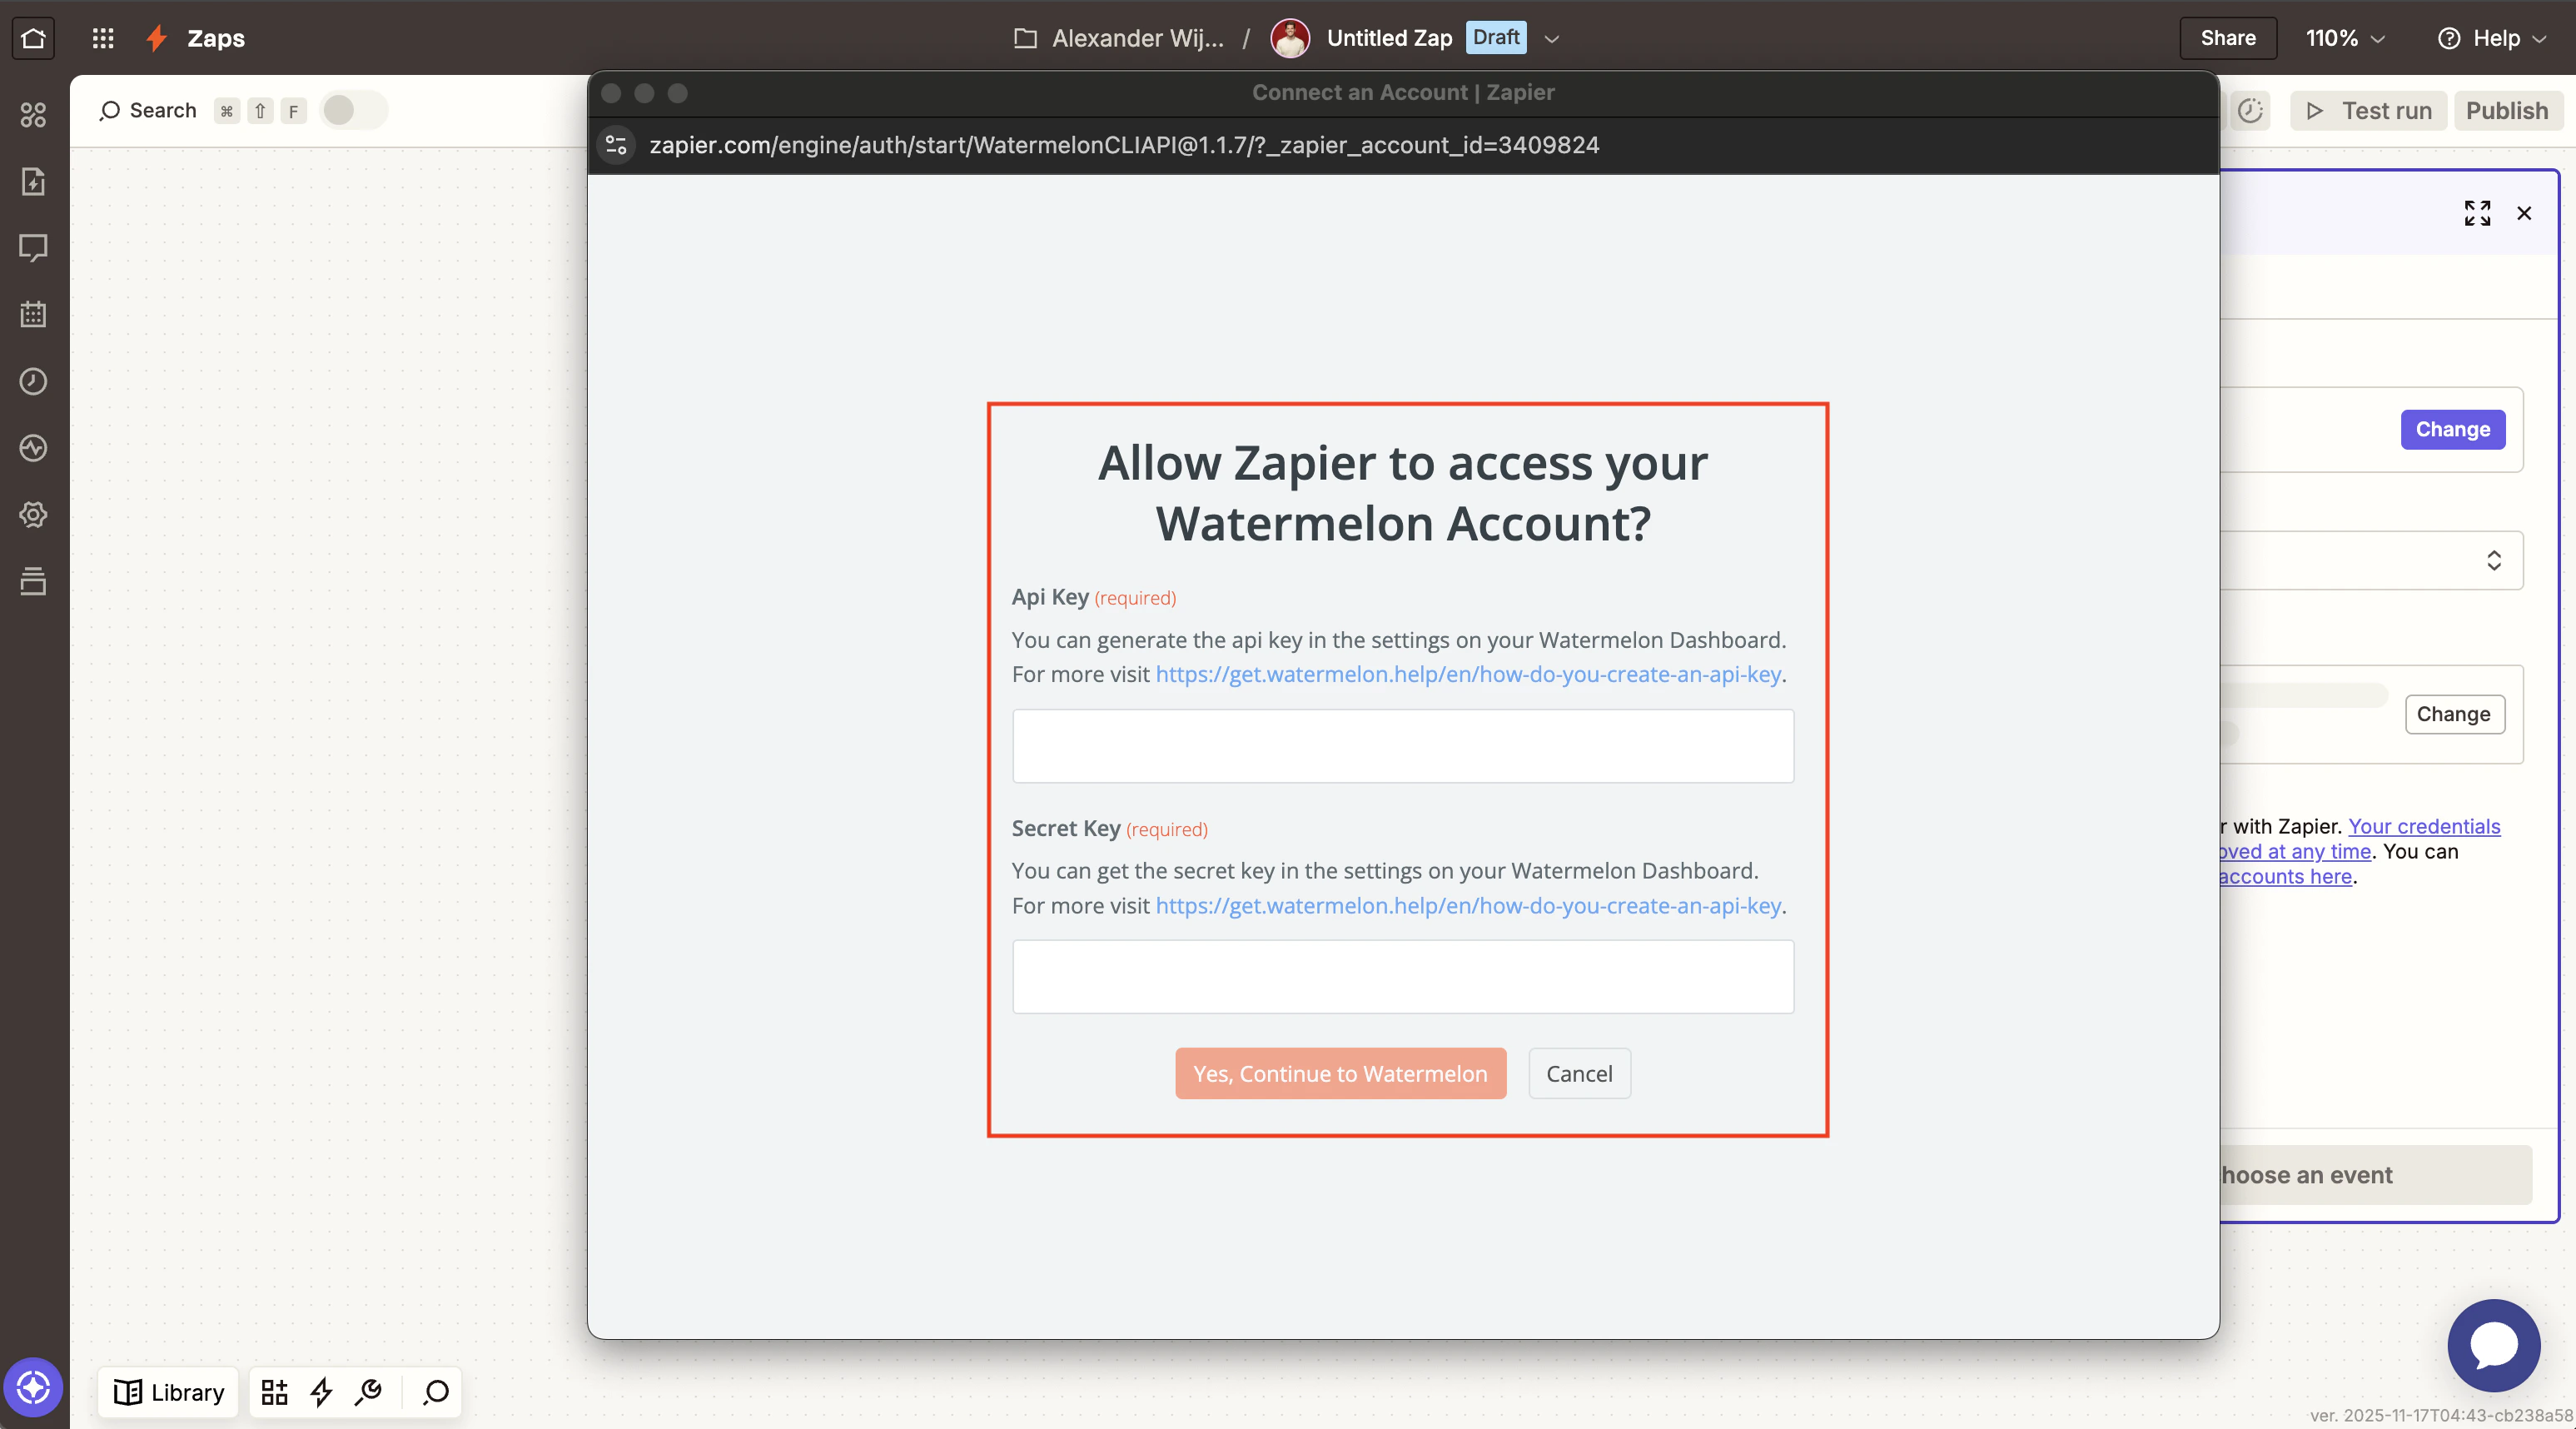
 In the `Account` section, click `Sign in` to connect your Watermelon account. You’ll be prompted to fill in your API key and secret to authorize Zapier. You can create an API-key following [this guide](/api-reference/api-keys).
 In the `Test` section, you can **test the trigger**.
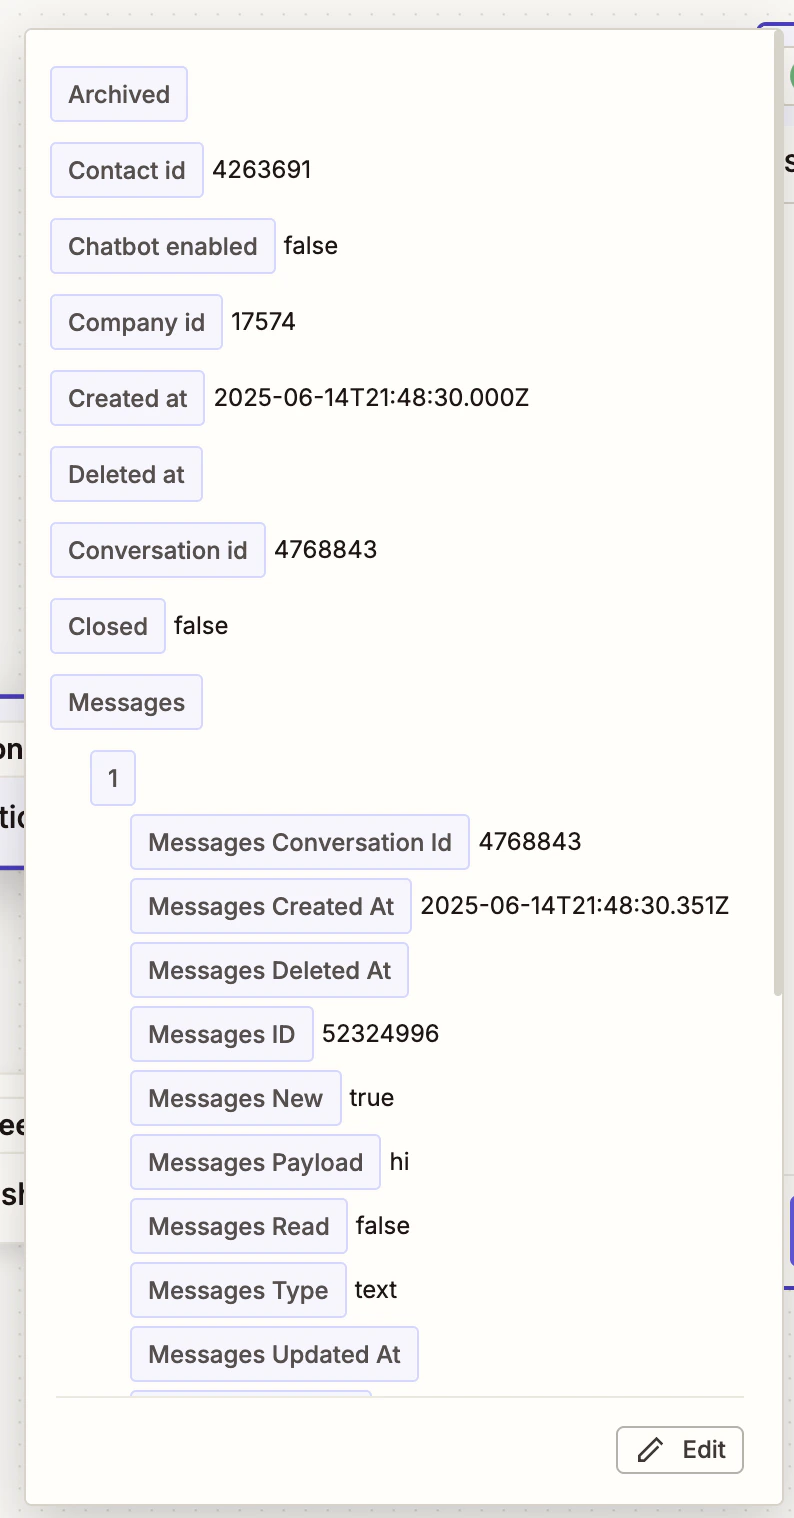
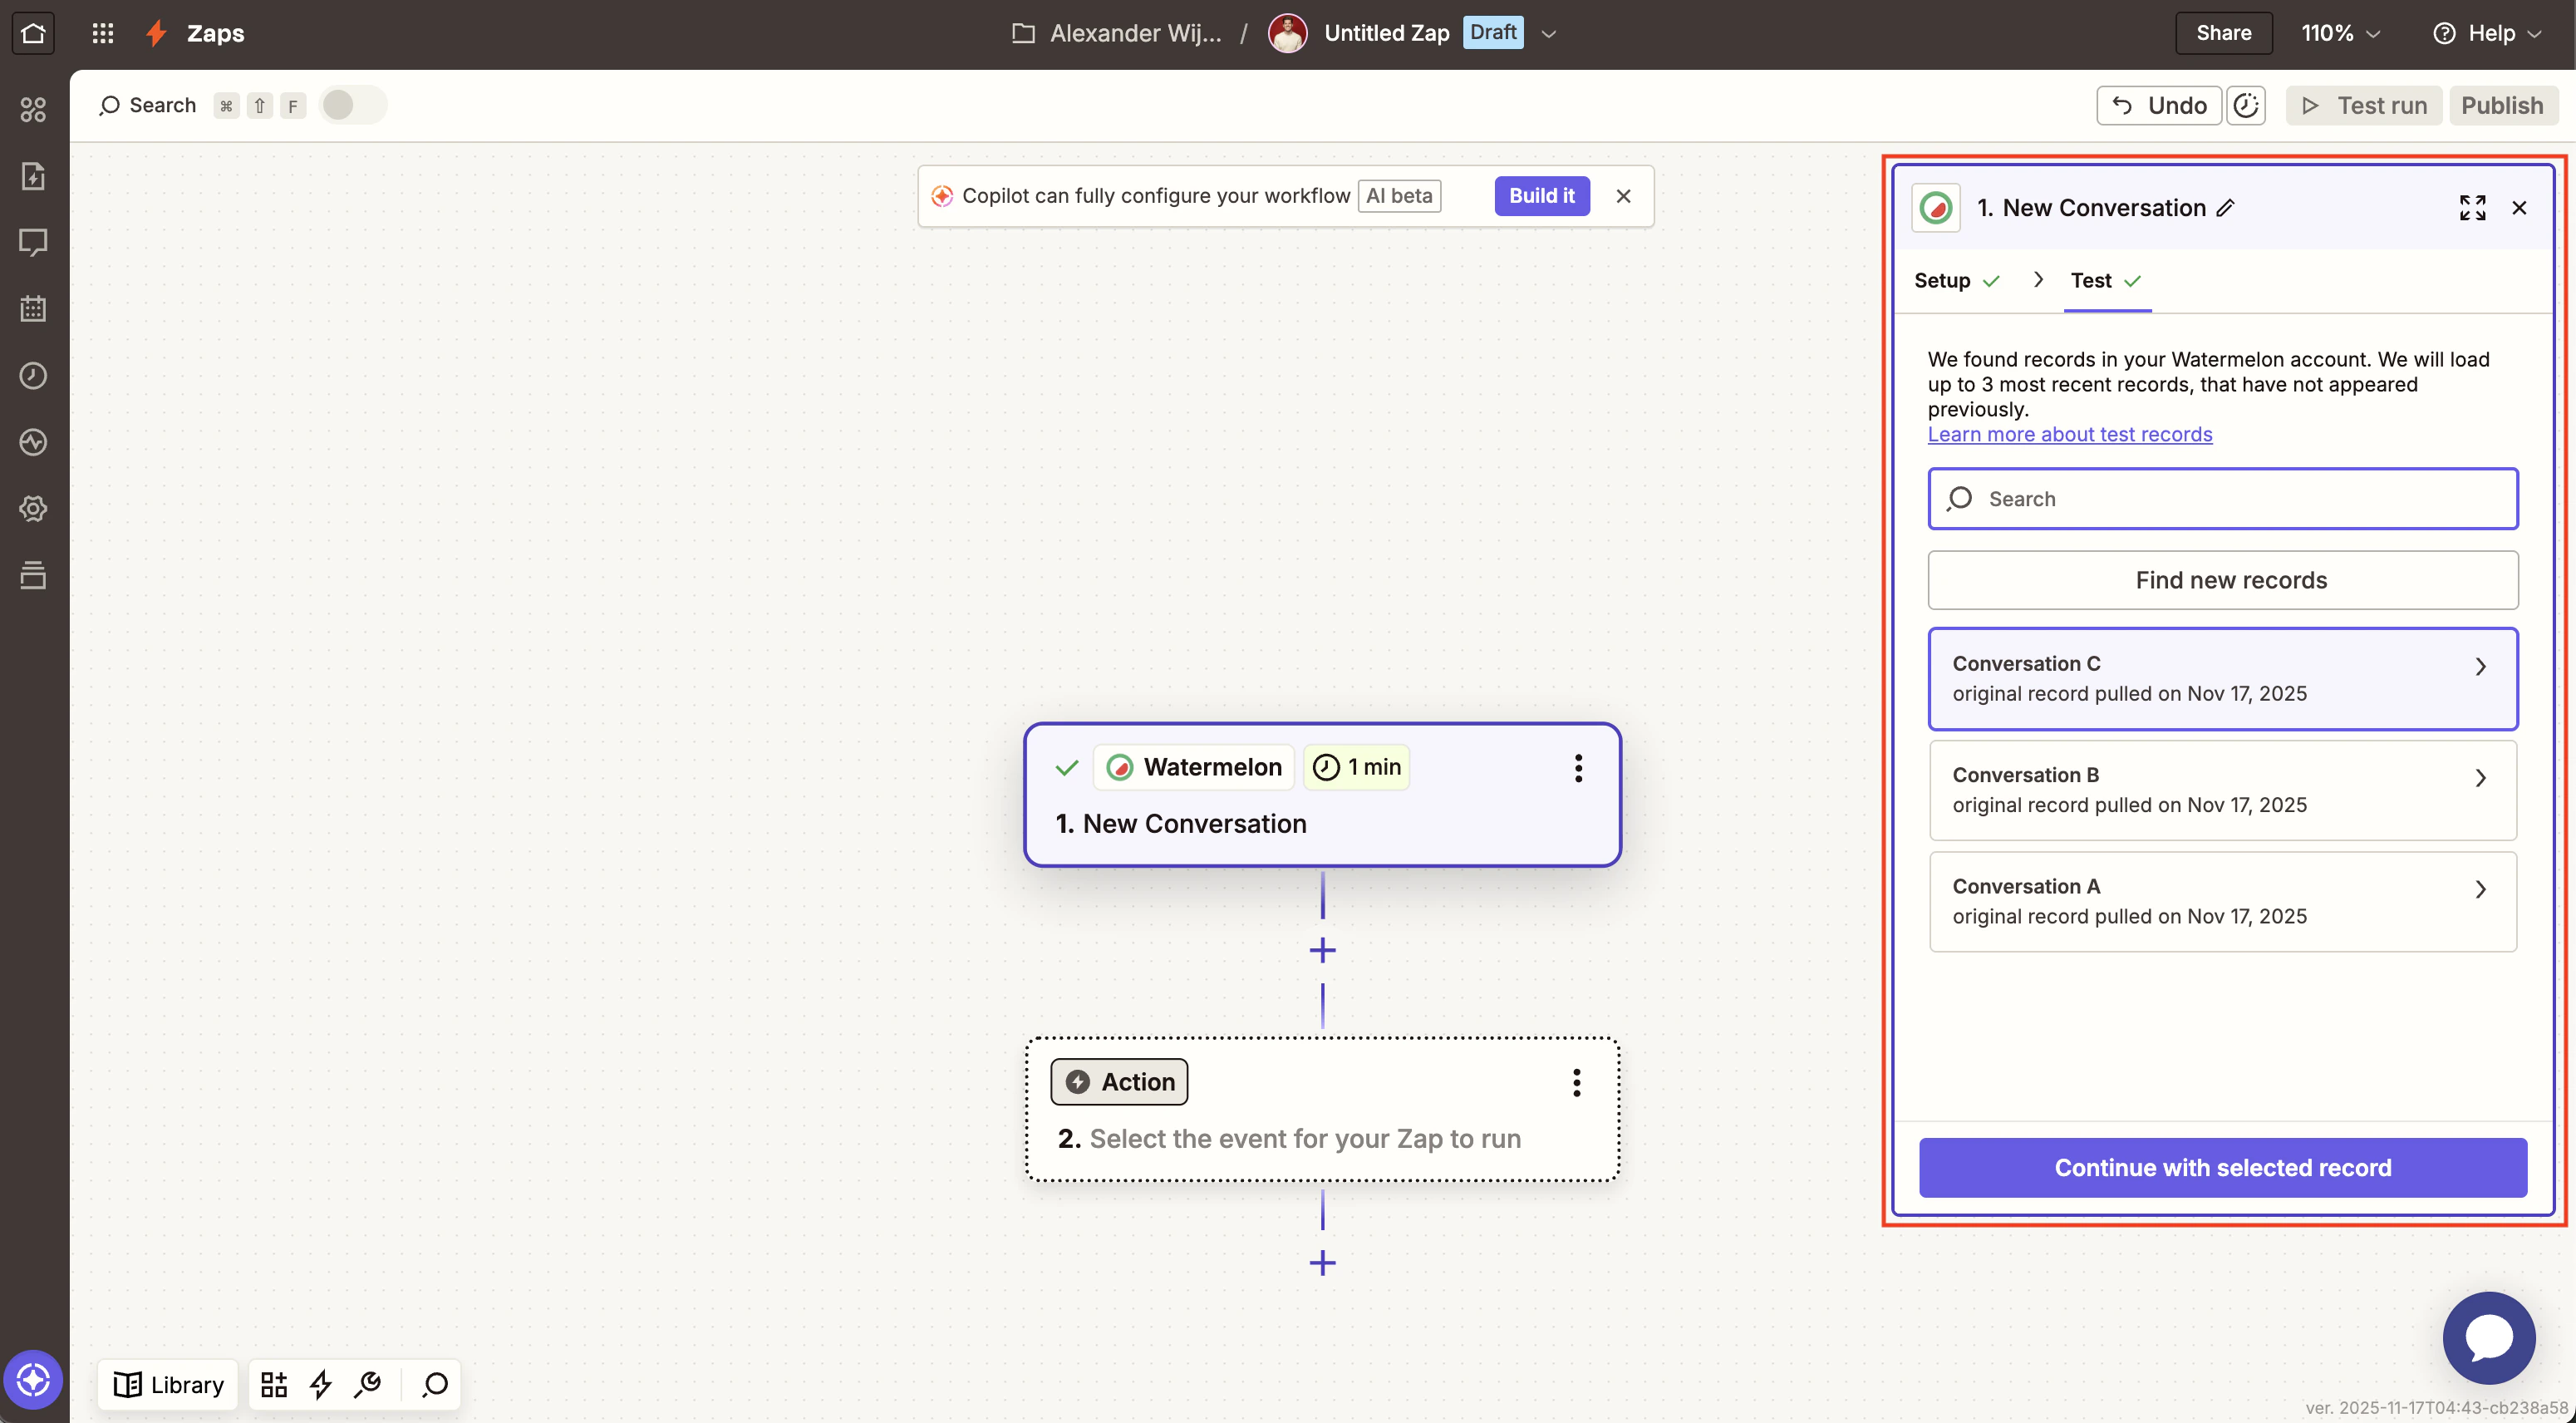 Your test conversation data will look like this:
 Next, click the `Continue with selected record` button.
### **4. Choose an action**
Now, you’ll have to add an action — an event a Zap performs after it's triggered, like notifying your team in Slack, sending a follow-up email, or adding a new record to your Airtable base.
**Choose the action app you want to connect with** and connect your account. If you already have an account connected to Zapier for the action app, select it from the account menu.
Next, click the `Continue with selected record` button.
### **4. Choose an action**
Now, you’ll have to add an action — an event a Zap performs after it's triggered, like notifying your team in Slack, sending a follow-up email, or adding a new record to your Airtable base.
**Choose the action app you want to connect with** and connect your account. If you already have an account connected to Zapier for the action app, select it from the account menu.
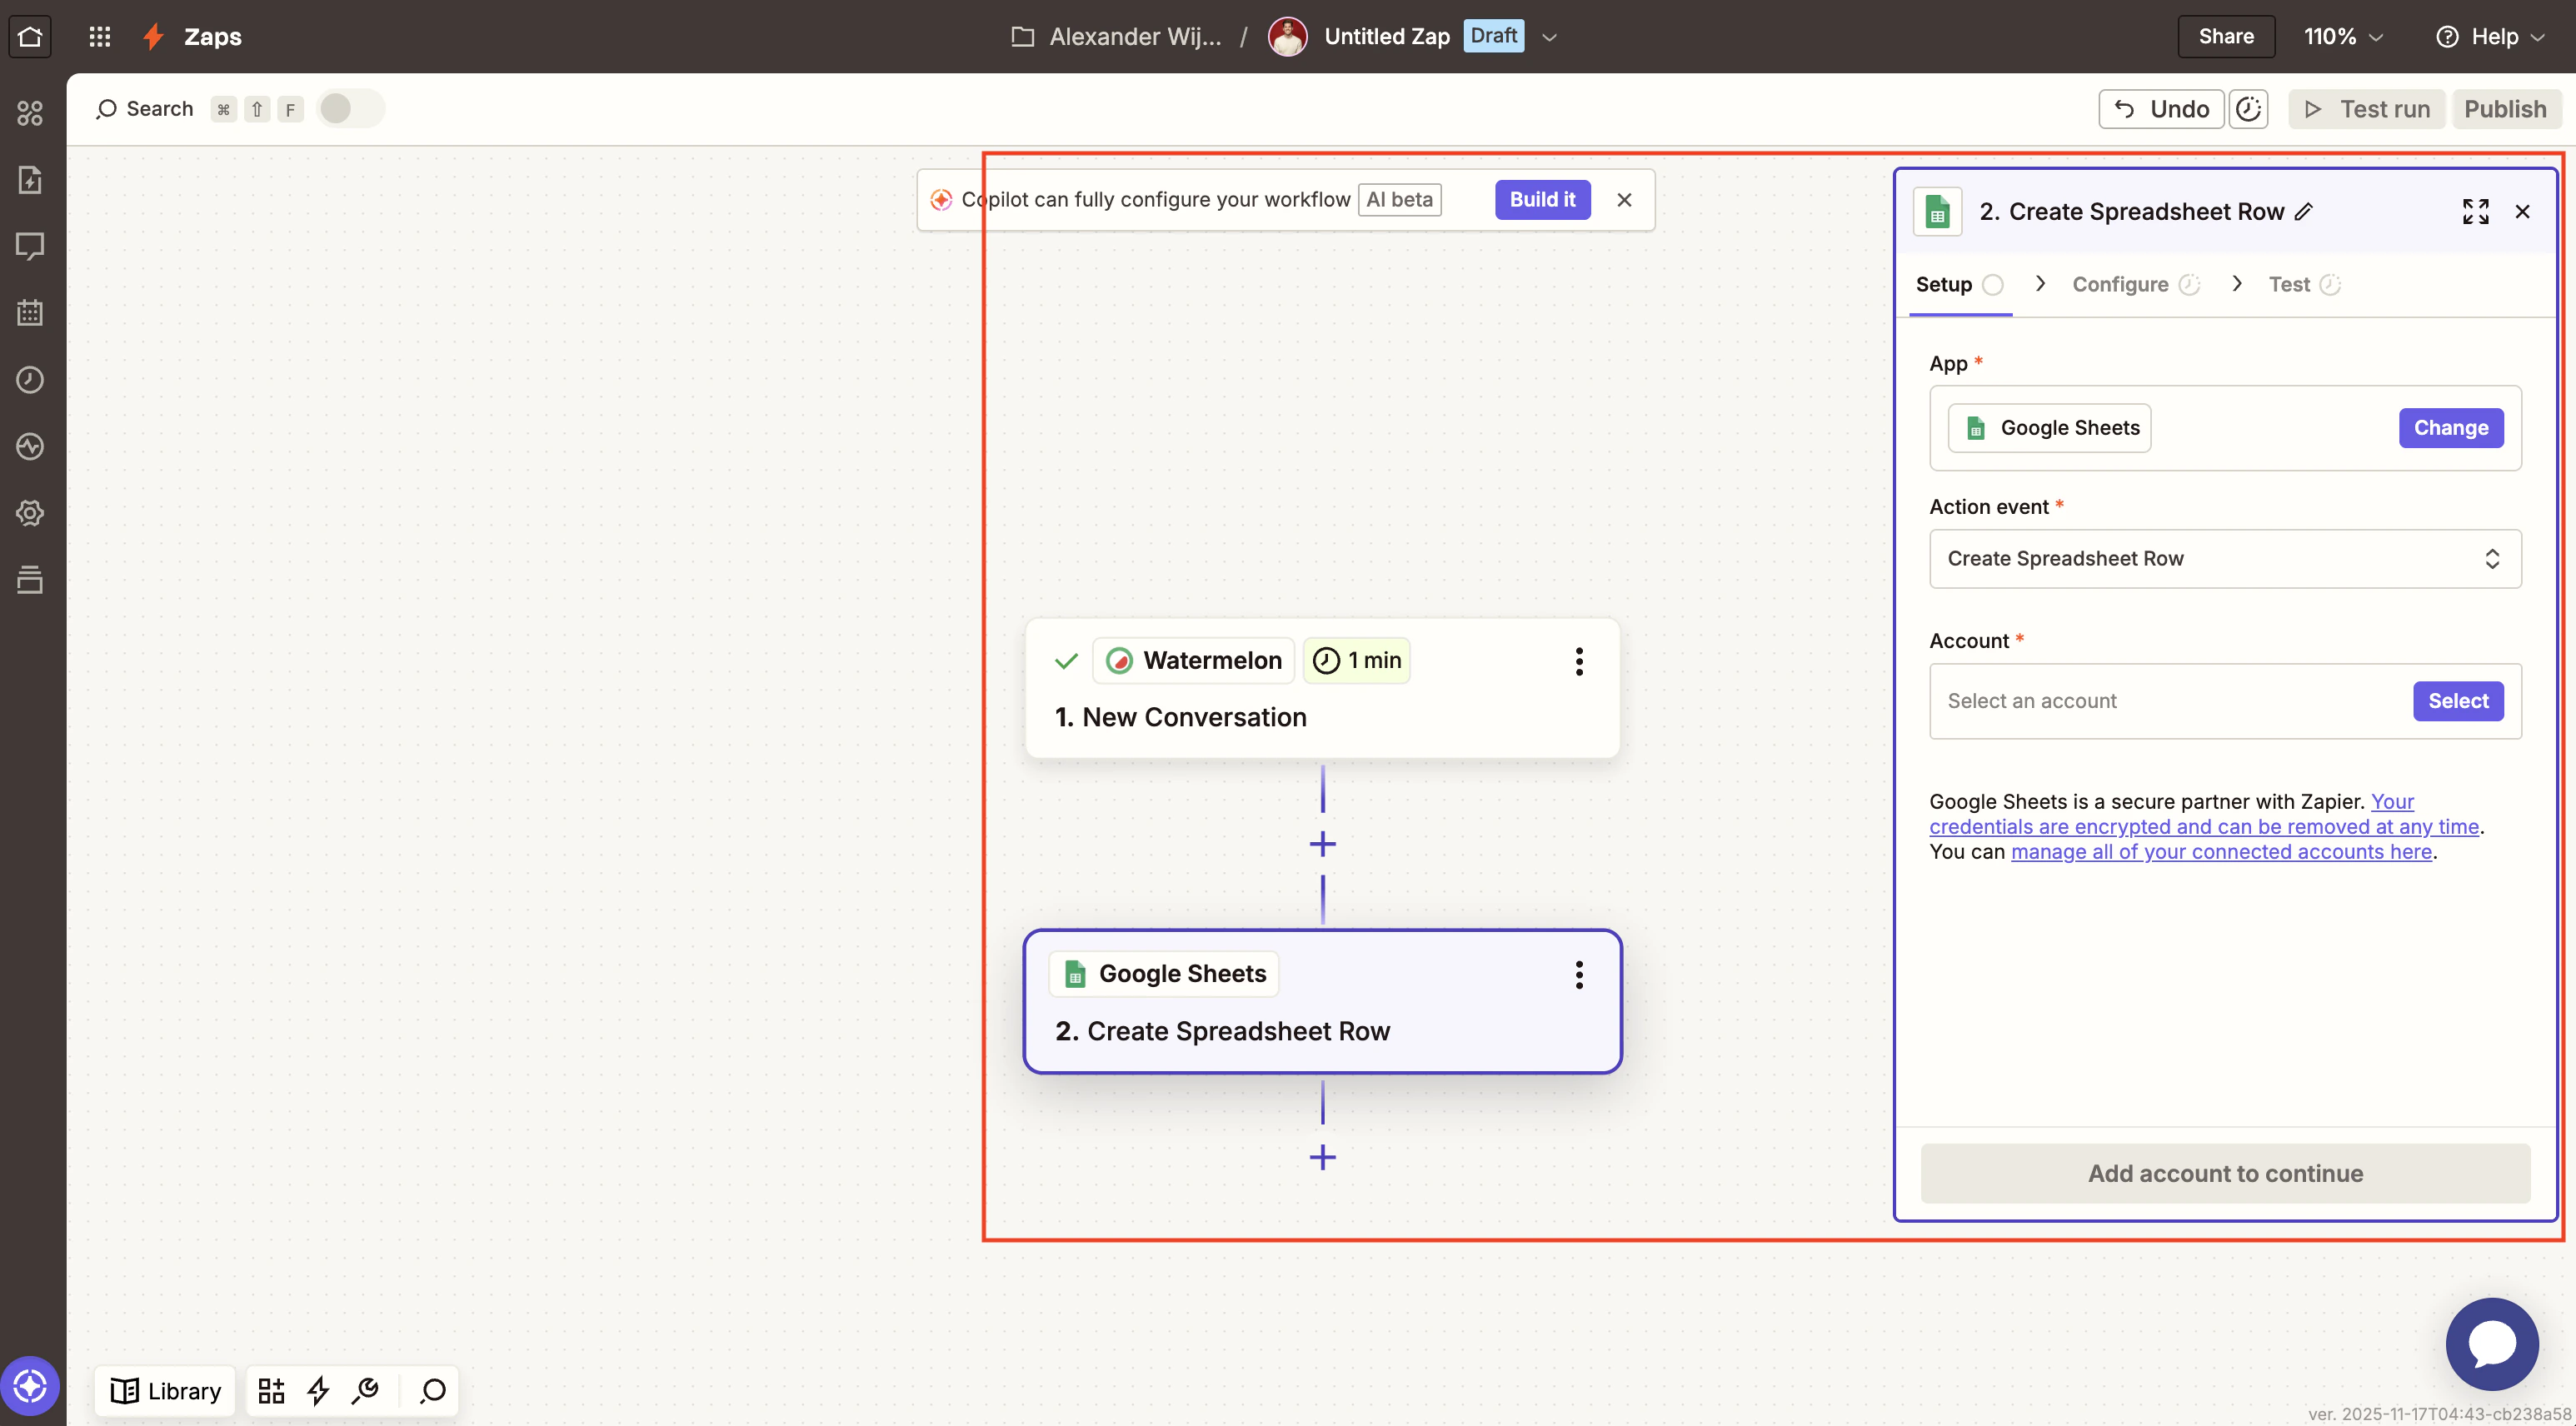 From the `Event` dropdown, choose the action you want Zapier to perform. For example, we want Zapier to create a new spreadsheet row anytimea new conversation is started.
In the `Account` section, you’ll be prompted to log in to the app you selected and authorize Zapier to connect with it.
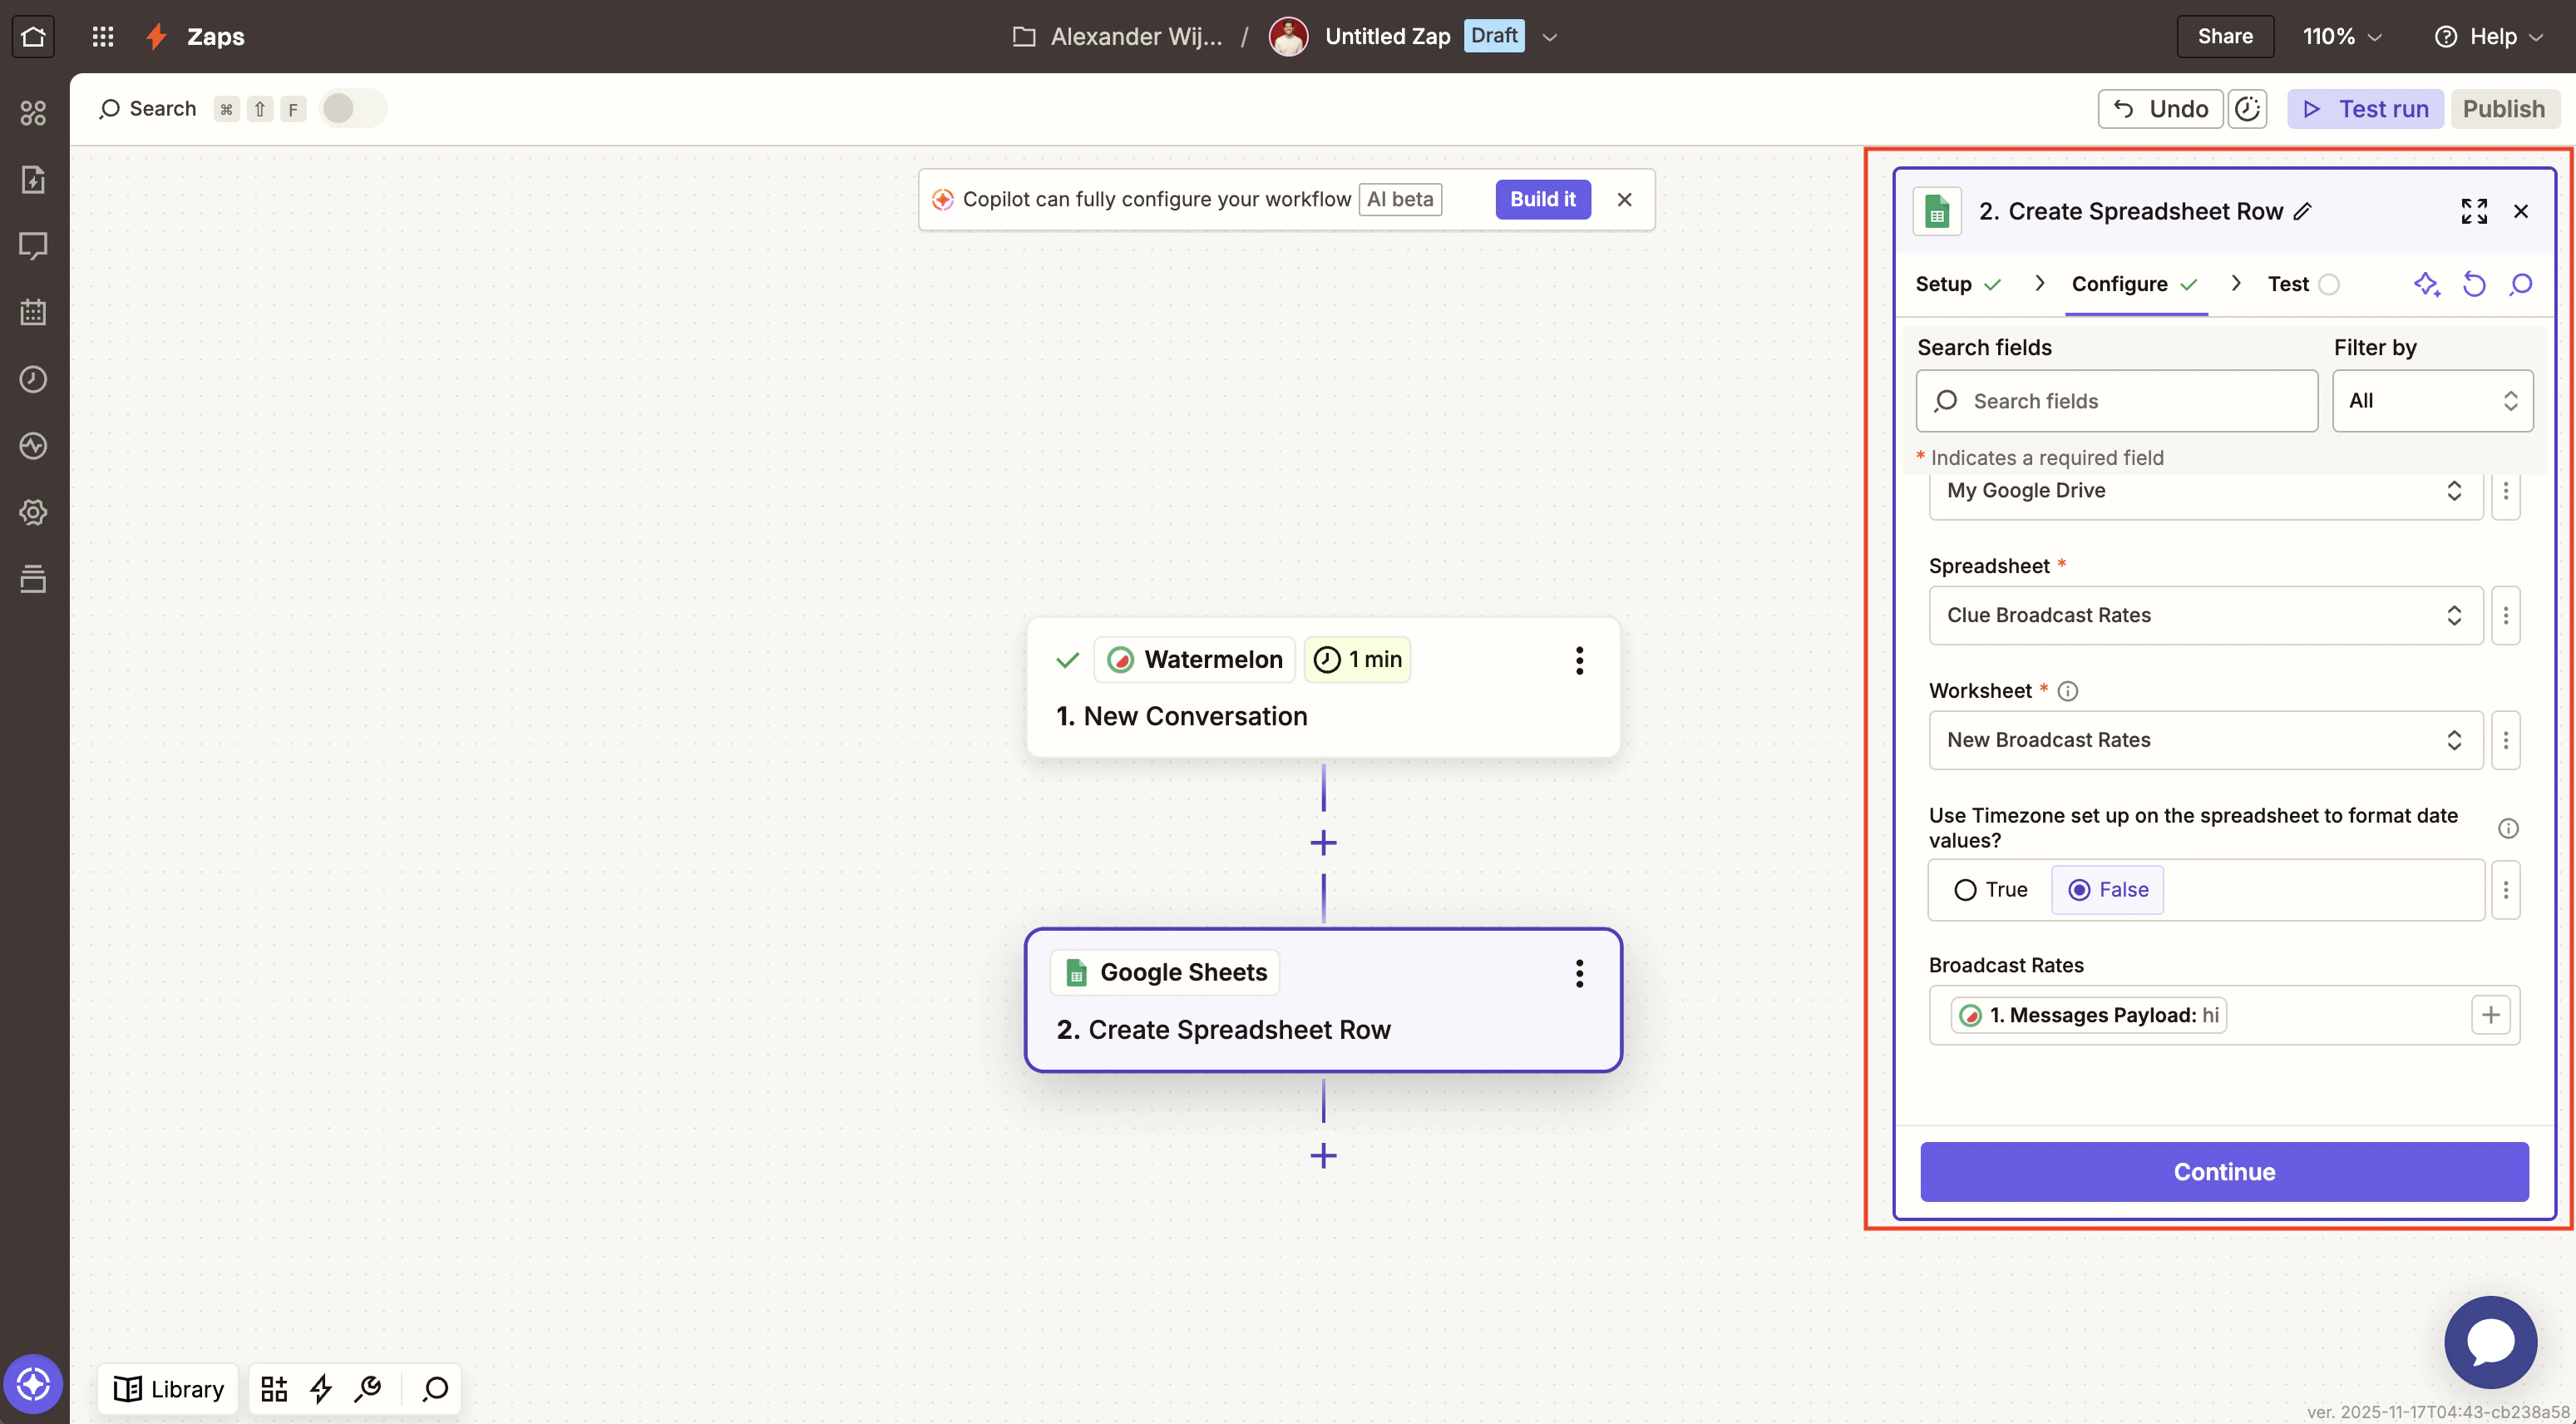
### **5. Customize action**
Next, **customize the data** that you want to send over to your action app. In this step, you'll see dropdown menus and/or fields to fill in.
In this example, we will select where in the Google spreadsheet we want Zapier to create a row and which conversation data we want to use. I added the **message payload** to the row. Click `Continue` when you’re ready.
From the `Event` dropdown, choose the action you want Zapier to perform. For example, we want Zapier to create a new spreadsheet row anytimea new conversation is started.
In the `Account` section, you’ll be prompted to log in to the app you selected and authorize Zapier to connect with it.
### **5. Customize action**
Next, **customize the data** that you want to send over to your action app. In this step, you'll see dropdown menus and/or fields to fill in.
In this example, we will select where in the Google spreadsheet we want Zapier to create a row and which conversation data we want to use. I added the **message payload** to the row. Click `Continue` when you’re ready.
 Zapier’s free plan is limited to two-step Zaps. If you want to add multiple steps, you’ll have to upgrade to a paid plan.
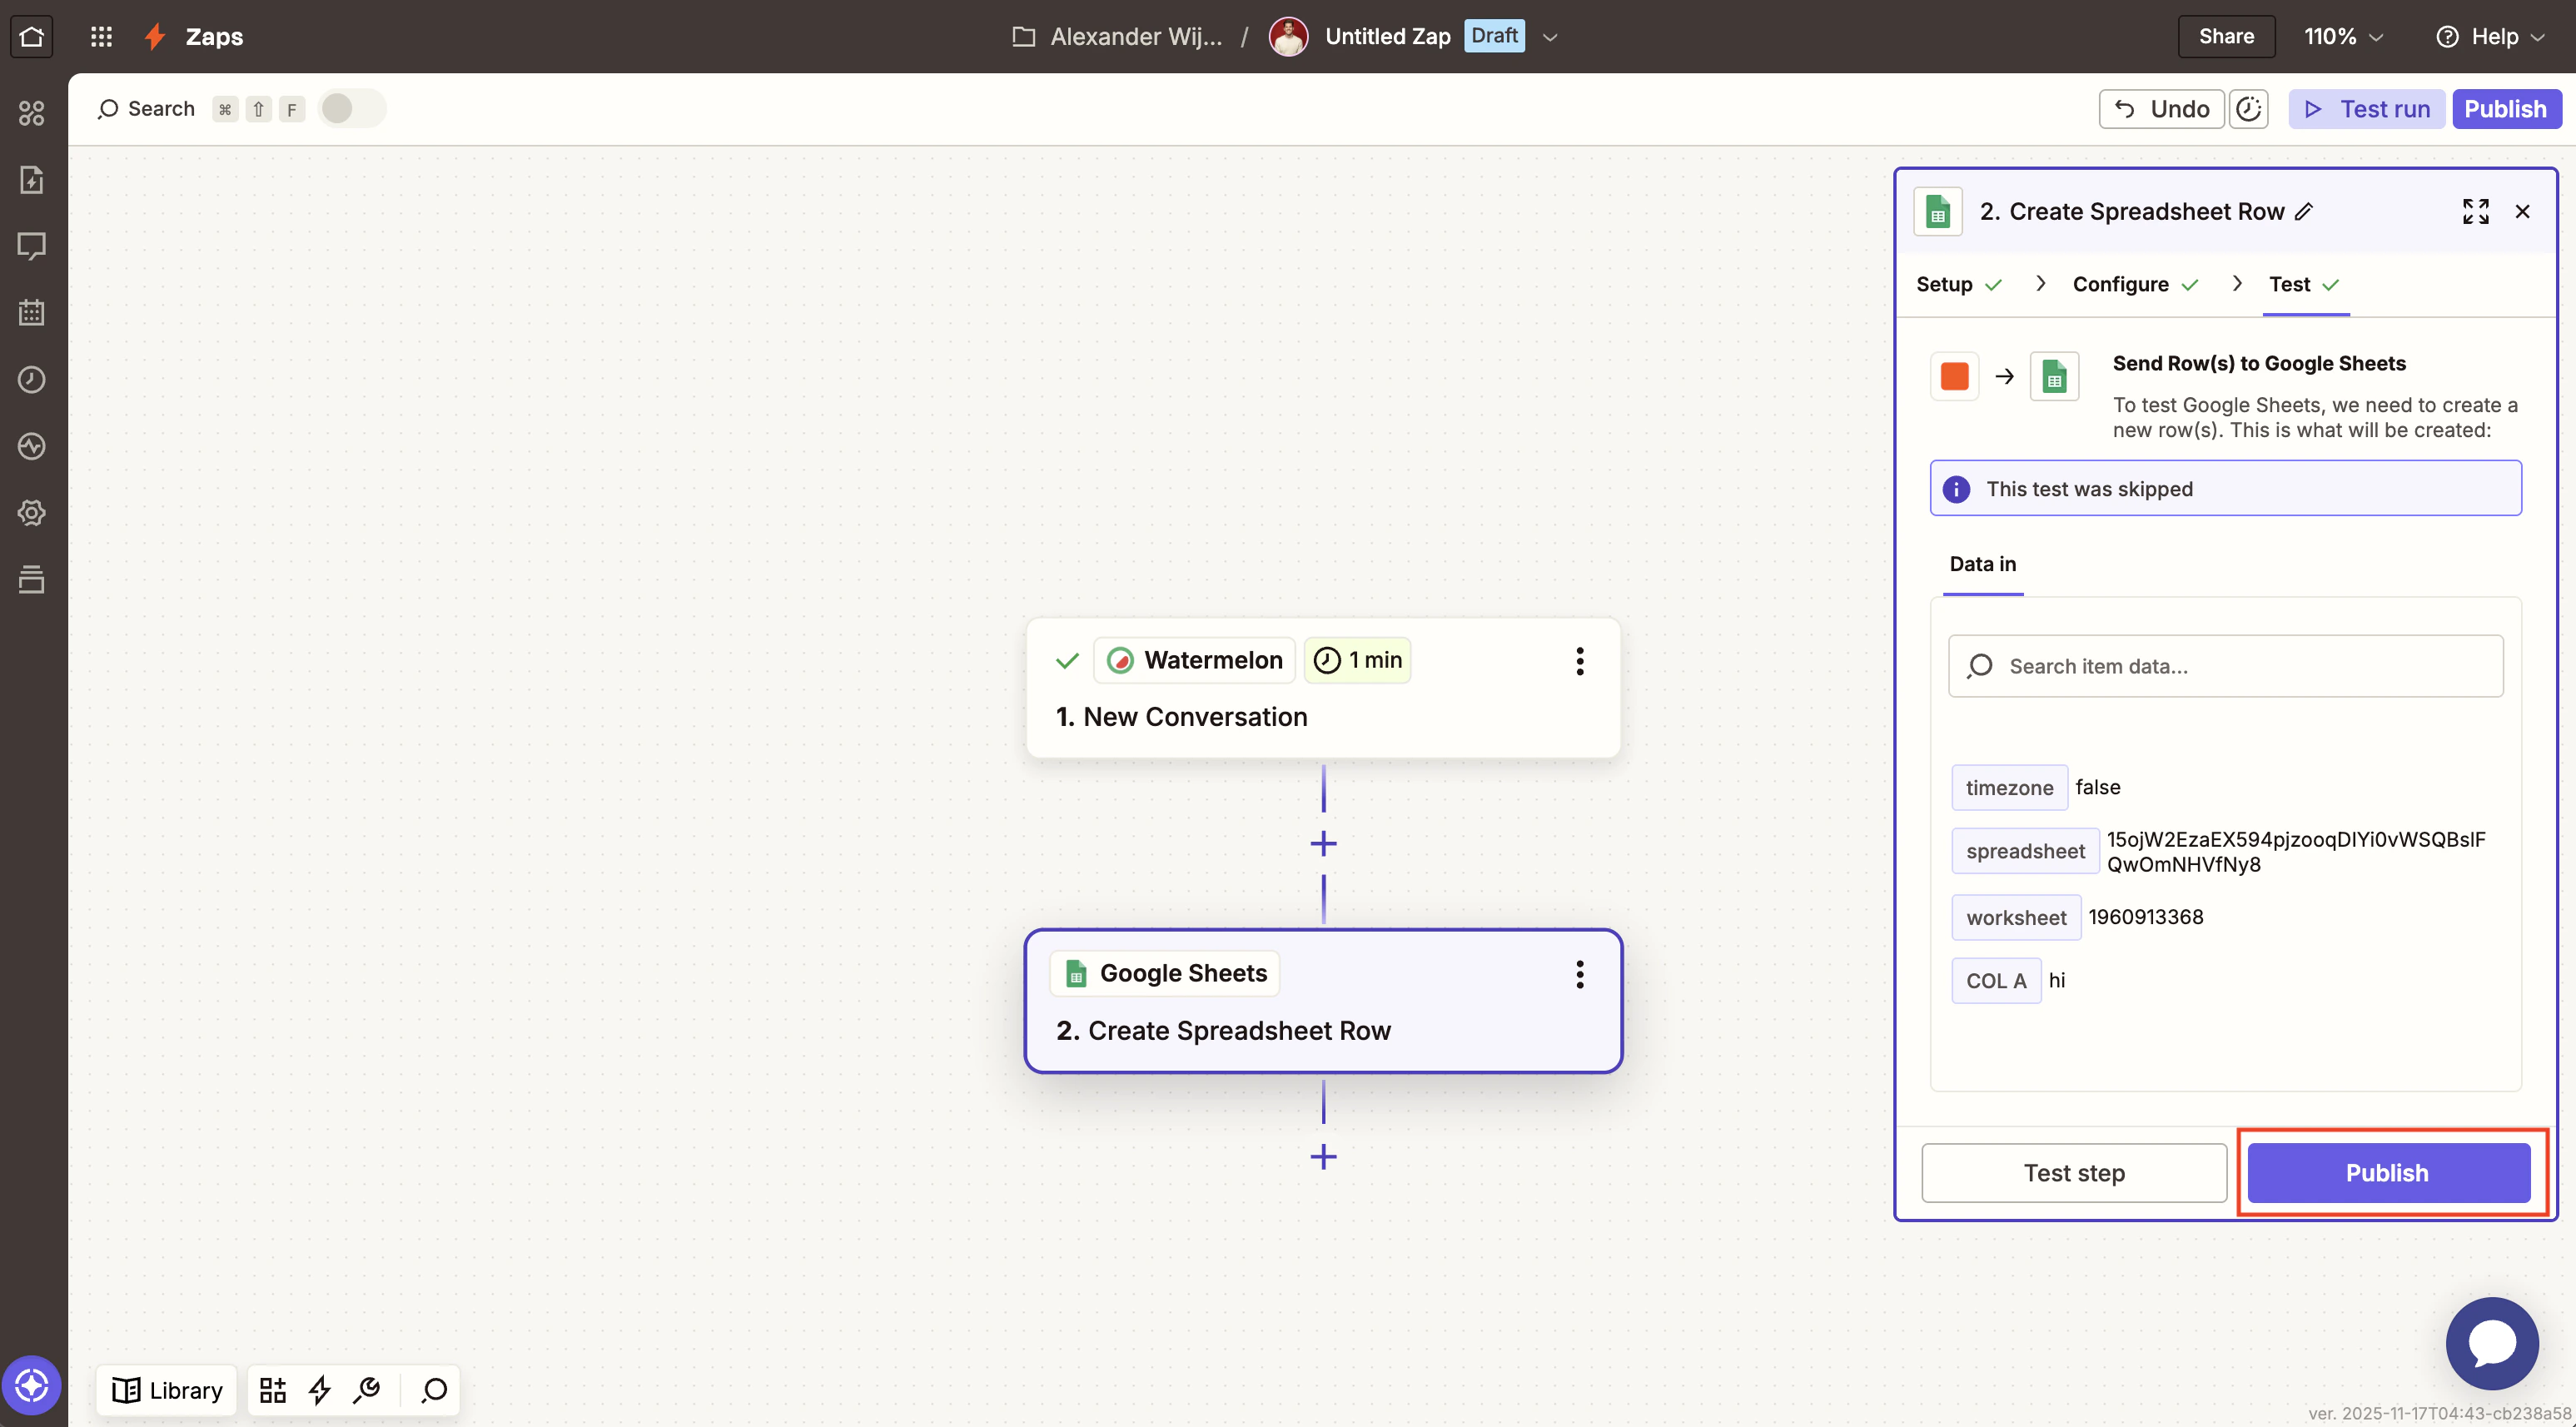
### **6. Test the action**
The final step is to see if your action works as expected. In the `Test` section, click `Test step` to run the action step.
The next screen will show you whether or not Zapier has been able to successfully perform the action step for you.
Zapier’s free plan is limited to two-step Zaps. If you want to add multiple steps, you’ll have to upgrade to a paid plan.
### **6. Test the action**
The final step is to see if your action works as expected. In the `Test` section, click `Test step` to run the action step.
The next screen will show you whether or not Zapier has been able to successfully perform the action step for you.
 Once you’ve set up your Zap action, you can add another action or finish setting up the Zap by clicking `Publish`. New conversations will now get synced with your chosen action app.
## Watermelon actions
A Zap consists of a trigger and an action. The trigger starts the workflow; in Watermelon, you can use the following actions:
| Action | **Description** | |
| --------------------------- | --------------------------- | ----------------------------------------------------------------------------------------------------------------------- |
| New contact | Creates a new contact | You can set the default and custom fields with custom values |
| Send a message | Send a message | You need the conversation ID, if this is not provided a new conversation will be created. You can map the message body. |
| Updates an existing contact | Updates an existing contact | You need a contact ID. |
| Search action | Description |
| ----------------- | ------------------------- |
| Find a contact | Find a contact by id |
| Find conversation | Find a conversation by id |
| Search contacts | Search a contact by value |
Once you’ve set up your Zap action, you can add another action or finish setting up the Zap by clicking `Publish`. New conversations will now get synced with your chosen action app.
## Watermelon actions
A Zap consists of a trigger and an action. The trigger starts the workflow; in Watermelon, you can use the following actions:
| Action | **Description** | |
| --------------------------- | --------------------------- | ----------------------------------------------------------------------------------------------------------------------- |
| New contact | Creates a new contact | You can set the default and custom fields with custom values |
| Send a message | Send a message | You need the conversation ID, if this is not provided a new conversation will be created. You can map the message body. |
| Updates an existing contact | Updates an existing contact | You need a contact ID. |
| Search action | Description |
| ----------------- | ------------------------- |
| Find a contact | Find a contact by id |
| Find conversation | Find a conversation by id |
| Search contacts | Search a contact by value |