> ## Documentation Index
> Fetch the complete documentation index at: https://watermelon.ai/docs/llms.txt
> Use this file to discover all available pages before exploring further.
# Publish on Phone
Connect your Agent to the Phone channel.
When you’ve created a Phone integration in Watermelon, you’ll need to connect your Agent to the Phone channel. This ensures your Agent can automatically answer incoming phone calls.
You can publish your Agent on Phone via the Agent Profile or via the Activate tab.
Make sure you’ve set up the [Phone integration](/docs/help-center/integrations/phone) first in Integrations → Phone before connecting your Agent.
## **Publishing via Agent Profile**
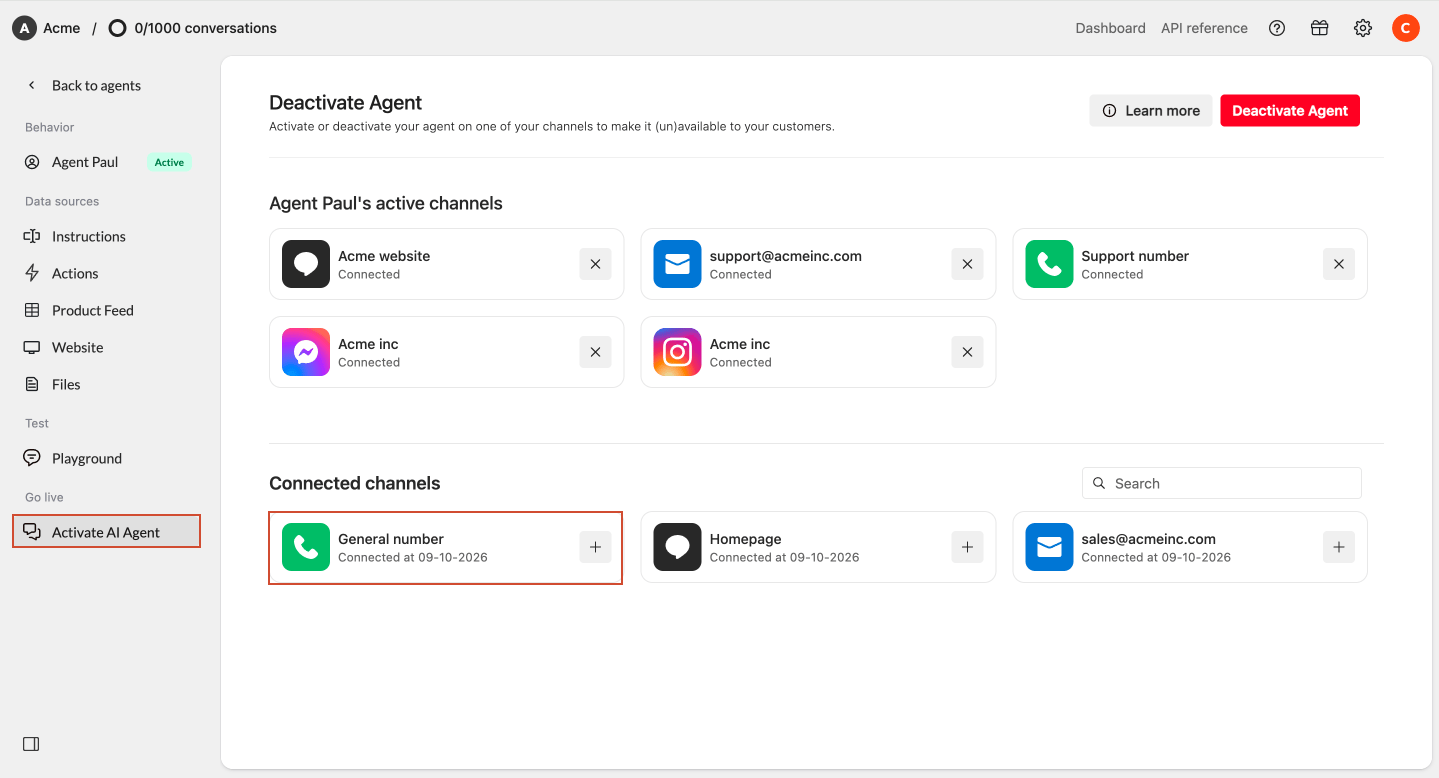
Open your **Agent**. Navigate to Activate AI Agent underneath Behavior. Scroll down to **Select your channels**.
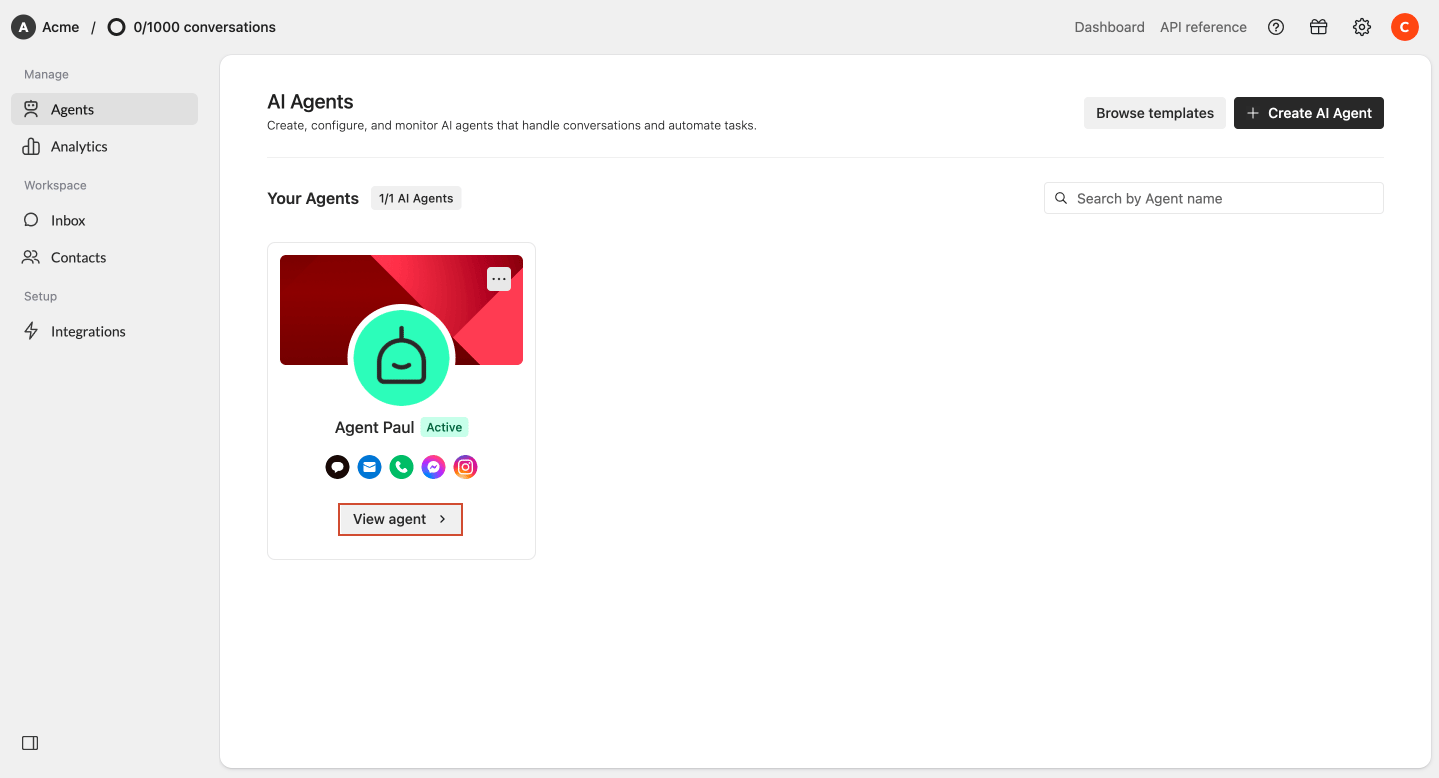 **Select** the phone channel you want to **connect** and click **Activate agent**. If your agent is already activated, you are already done.
 Your Agent is now **connected** to the phone channel.
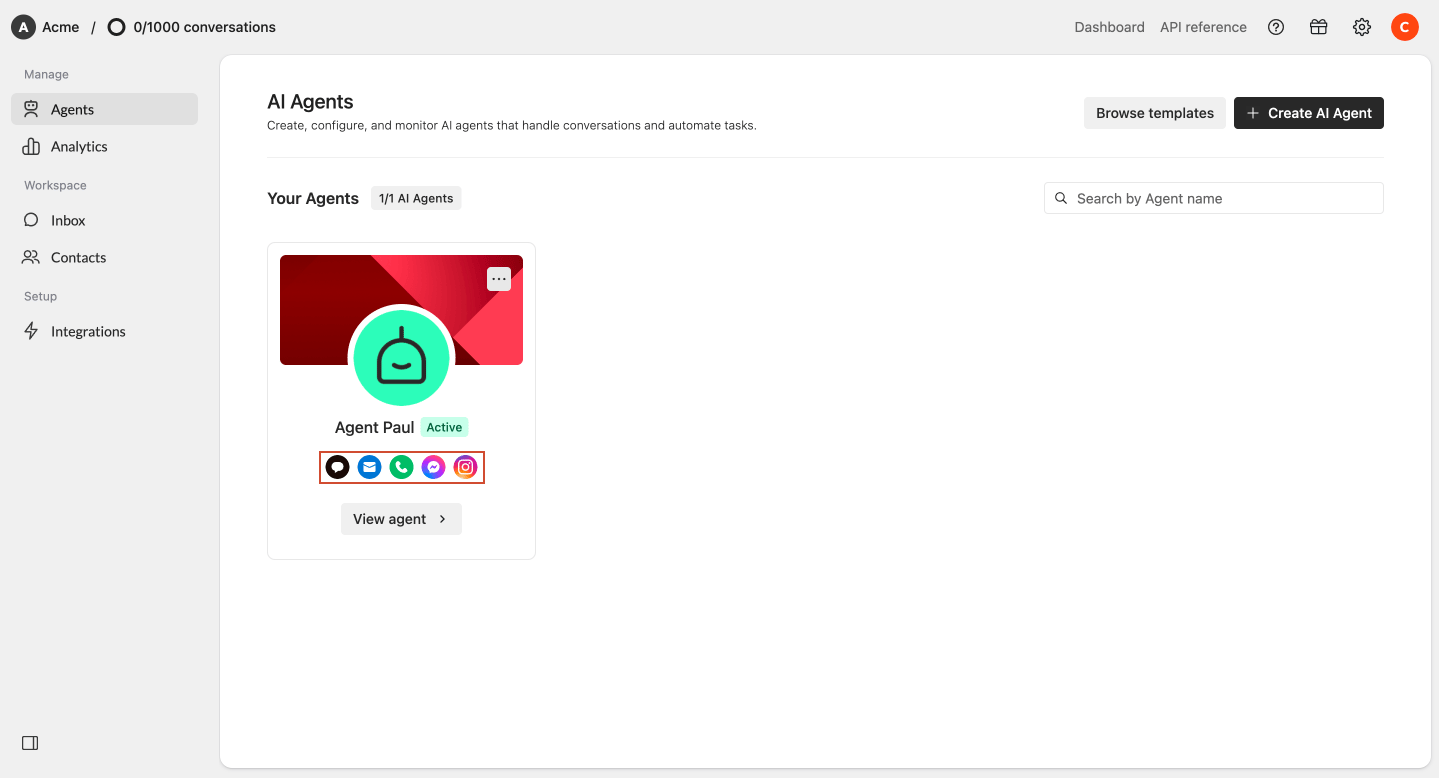
 Make sure your Agent is **Active**, otherwise it won’t reply to incoming emails.
## **What happens next?**
Once your Agent is published on phone:
* Incoming phone calls will appear in your **Inbox**
* Your Agent will automatically reply (if enabled)
This documentation is built and hosted on [Mintlify](https://mintlify.com), a developer documentation platform.
Make sure your Agent is **Active**, otherwise it won’t reply to incoming emails.
## **What happens next?**
Once your Agent is published on phone:
* Incoming phone calls will appear in your **Inbox**
* Your Agent will automatically reply (if enabled)
This documentation is built and hosted on [Mintlify](https://mintlify.com), a developer documentation platform.