

What Are AI Actions?
An AI Action is a custom integration between your AI Agent and an API. It allows your Agent to perform real actions — such as checking order status, creating a support ticket, or updating customer details — without leaving the chat.Examples
Ways to Create an AI Action
You have two options:- Use a Watermelon template → preconfigured and ready to connect.
- Create your own Action → build from scratch using your API.
Step-by-Step: Create a Custom Action
1
Go to Actions
In your AI Agent, open the actions tab and click the plus icon at Custom action.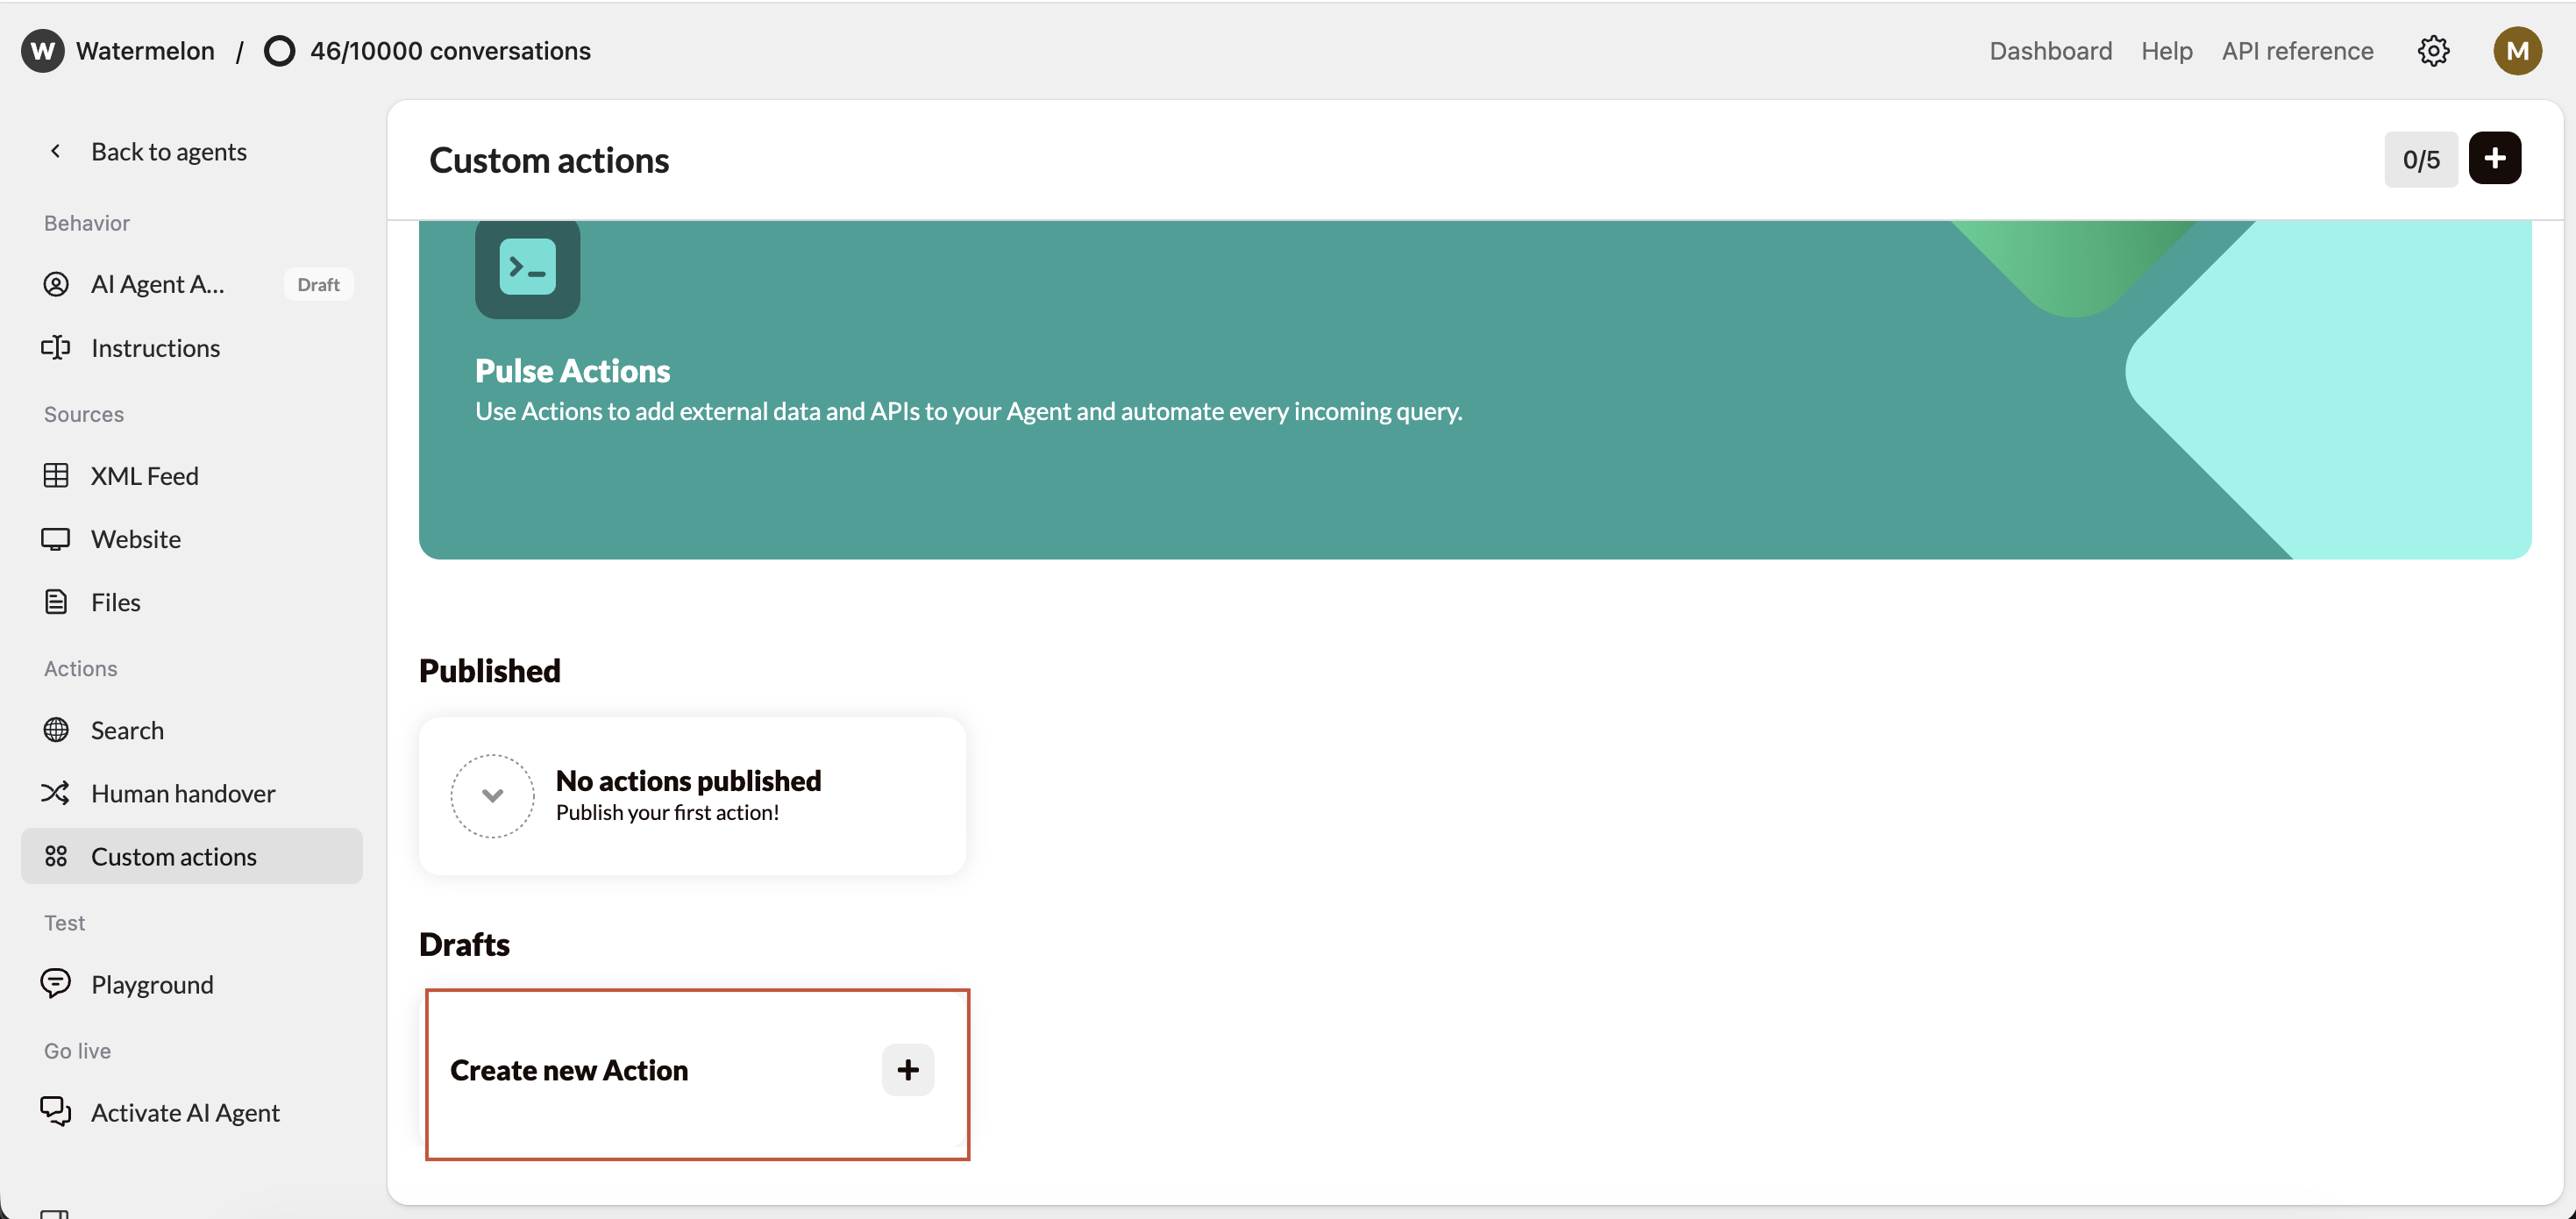
2
Add a Name & Description
Choose a clear, descriptive name that tells what the Action does. Add a short explanation of the function.
3
Add the Base URL
Enter your API’s BaseURL — for example:This tells Watermelon where to send requests.
4
Add Authentication
Choose the right authentication method from your API documentation:
For detailed instructions, see Authentication Setup in the Help Center.
5
Add a Health Check
Add a simple endpoint (e.g. /health or /status) to verify the connection between Watermelon and your API.
6
Write a Schema (The Blueprint)
Your schema defines how your AI Agent talks to your API. Watermelon follows the OpenAPI 3.0 standard. Here’s what every schema includes:
7
Validate the Schema
Click Validate in Watermelon. If it’s valid, you’ll see all available Actions underneath. If it’s invalid, Watermelon will show an error with the line and column number to fix.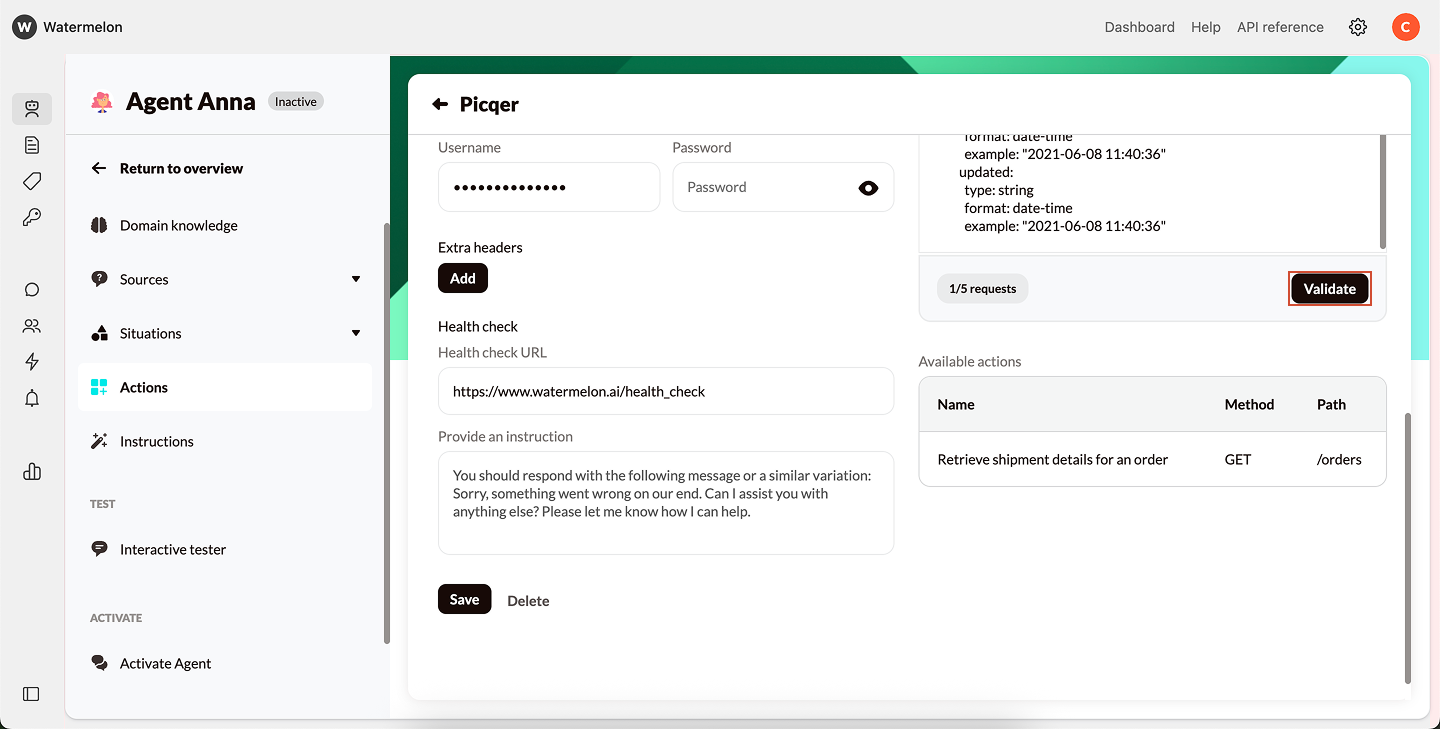
8
Test the Action
Before publishing, test in the Playground.Test tips: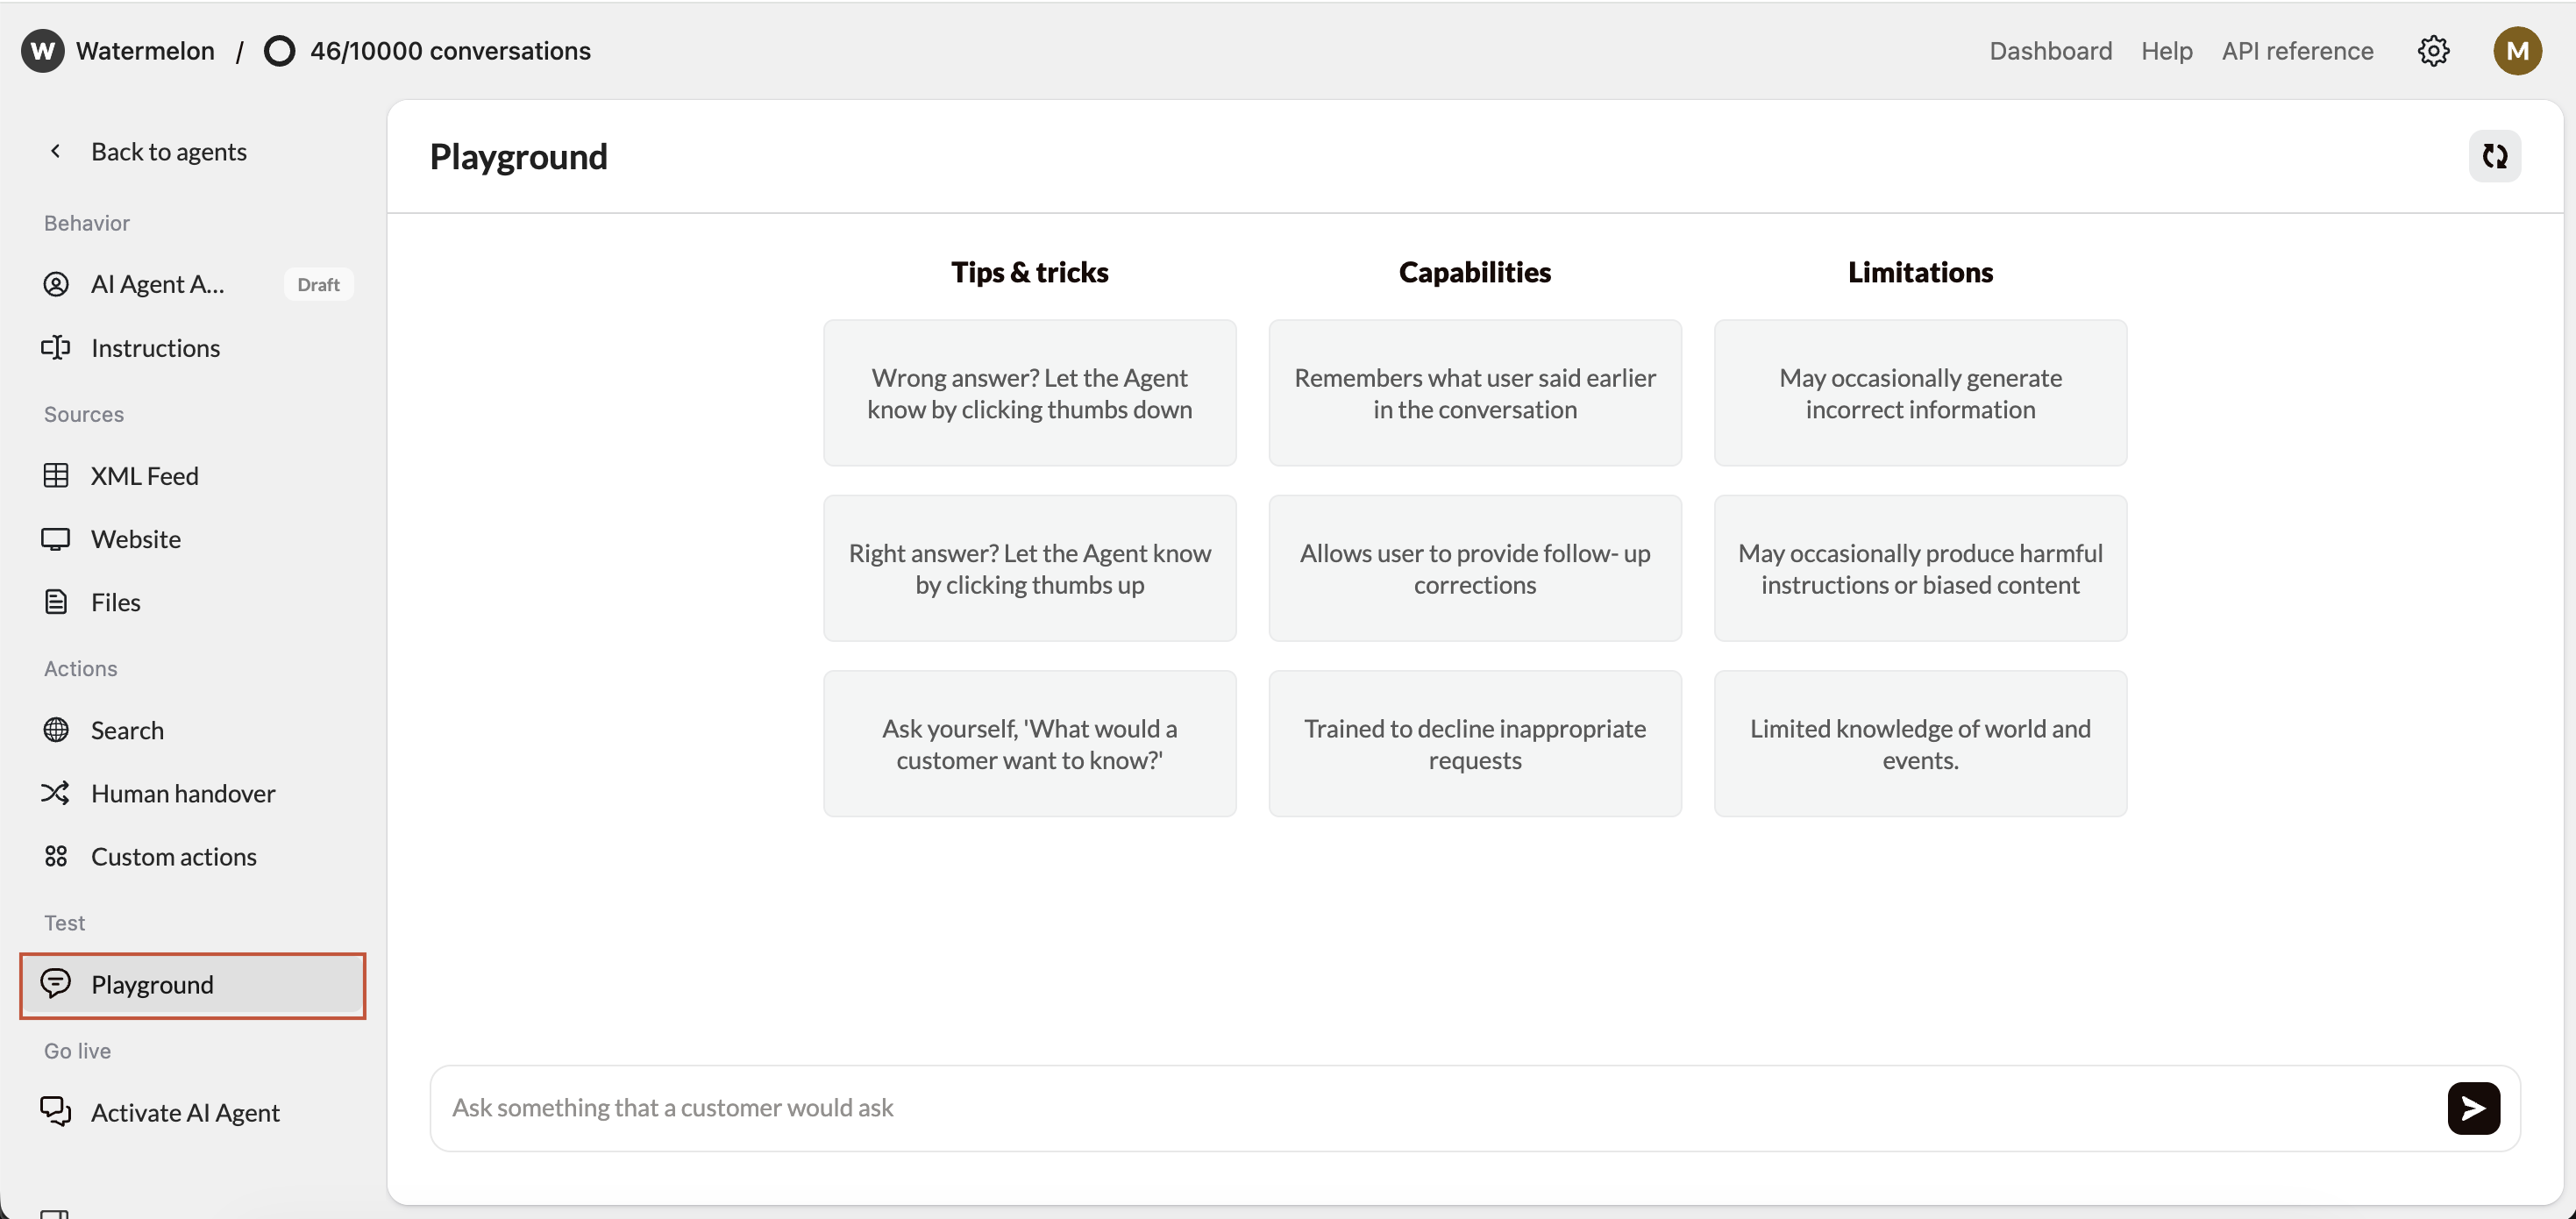
- Use real or test data that exists in your system.
- Add clear Agent instructions if multiple parameters are needed.
- Check error codes:
- 400 → wrong parameters
- 401 → authorization error
- 404 → wrong endpoint or missing item
- 500 → server error
9
Publish
Once everything works, click Publish. Your AI Agent can now use the Action in real conversations.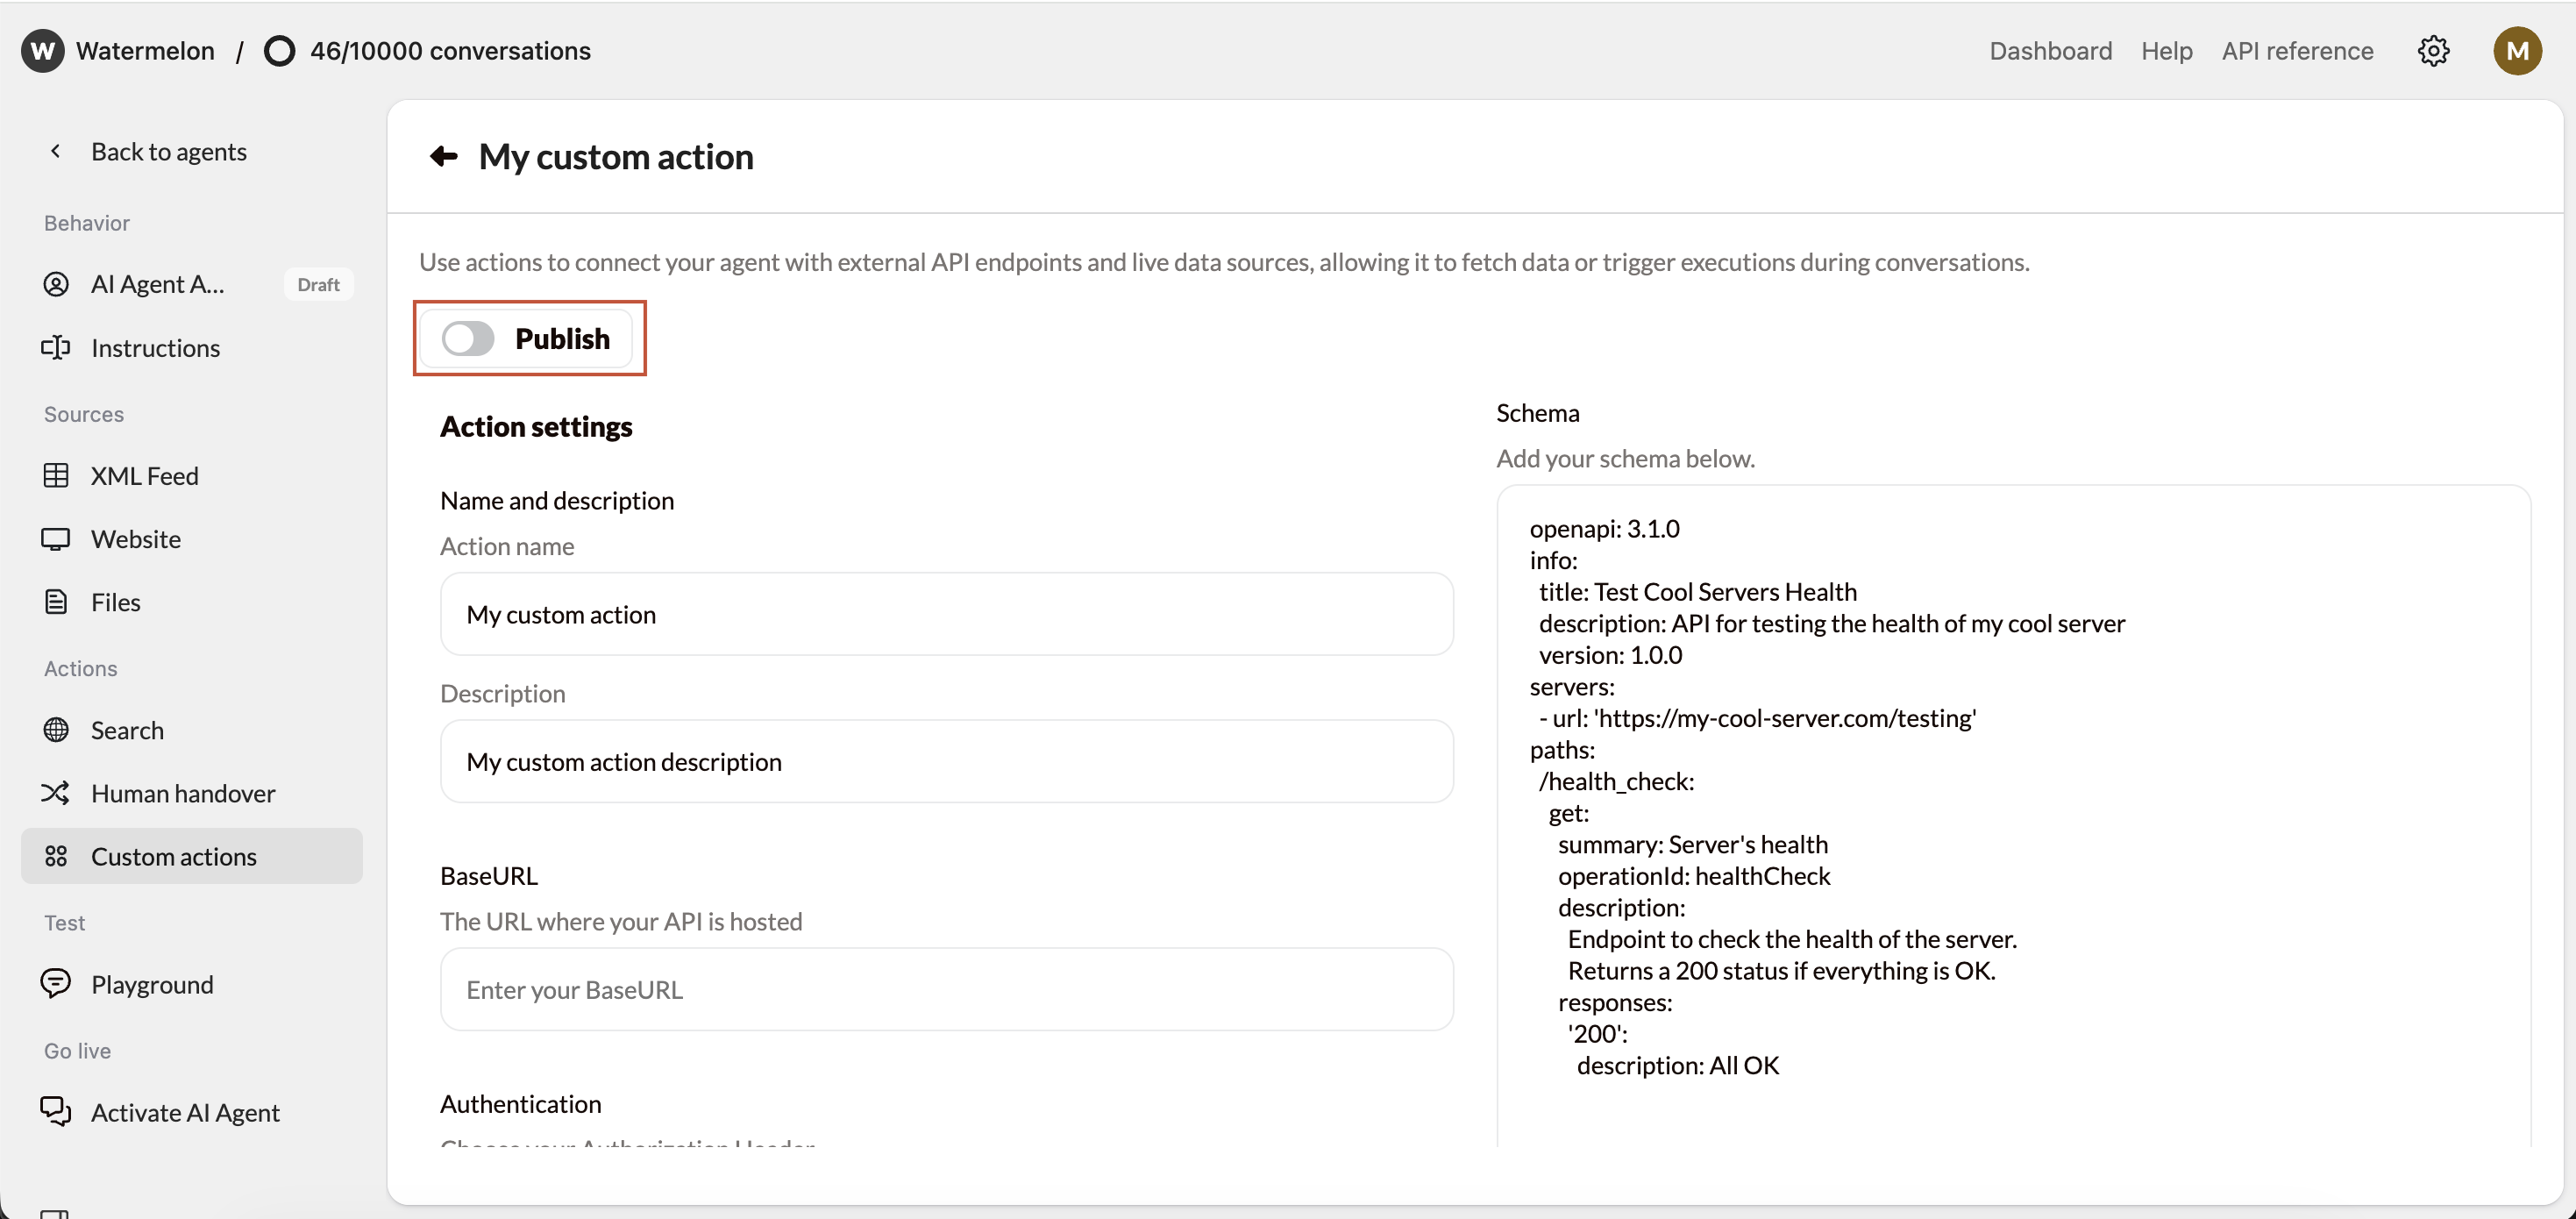
Using Multiple Attributes
Actions can collect multiple input fields from the user — even across messages.Why it matters
Example:
User: I want to track my order.
AI Agent: Sure! What’s your order number?
User: 123456
AI Agent: Got it. What’s your postal code
User: 90210
AI Agent: And your email address?
User: jane@example.com
→ Action triggers automatically.
Best Practices for Security
- Always use HTTPS
- Limit API responses to what’s necessary
- Hide or hash personal data
- Use rate limiting to prevent abuse
- Monitor usage and logs
- Don’t hardcode API keys
- Validate all inputs
- Avoid admin or delete endpoints unless absolutely required